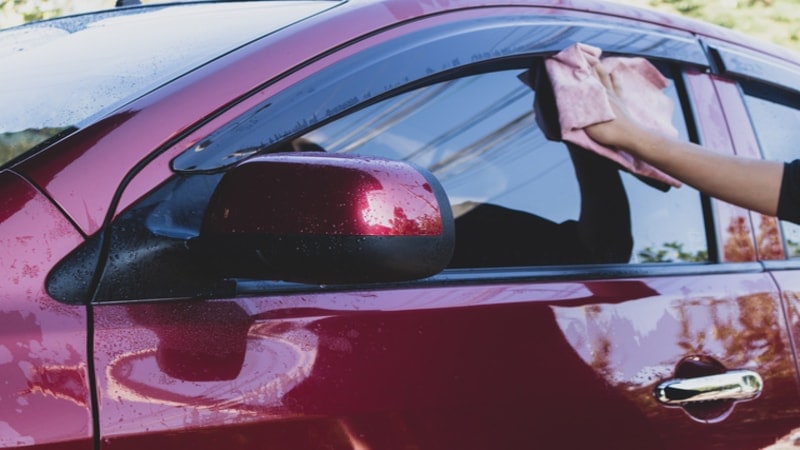
Want to clean tinted windows without leaving streaks or damaging the film? With years of tinting expertise, we’ll show you the right tools and methods to achieve perfect clarity while protecting your window film. Follow these proven steps for spotless windows that maintain their finish. Your tint will look showroom-new with our foolproof cleaning approach. Let’s dive in!
Tinted Windows Cleaning: What Makes Your Car Windows Shine?
Tinted windows are more than a fashion choice; they are an amazing blend of style and functionality that enhances a vehicle’s aesthetic appeal. Apart from enhancing the car’s look, they provide privacy, reduce glare, and shield interiors from harmful UV rays that can cause fading or health risks
While window tint films are designed for durability, they require proper care and maintenance to prolong their lifespan. A window tint is not limited to cars; it works great on all windows, including residential glass and commercial properties. However, wherever you choose to apply a tint, make sure you maintain it properly.
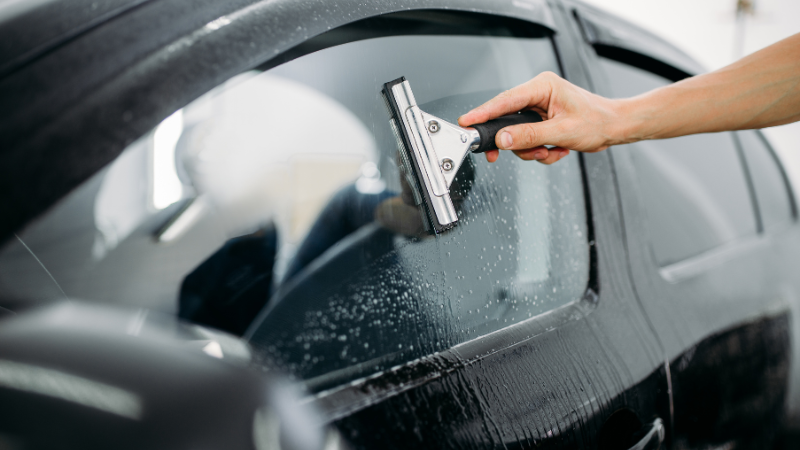
Preparing to Clean Tinted Windows
Cleaning tinted windows is not as simple as cleaning regular untinted windows. It requires proper preparation to ensure the tint’s integrity remains intact. The most important thing is to wait till the tint is fully cured. This process can take anywhere between 7 to 30 days, depending on the environment. It can take even longer to cure if you are working with aftermarket tinted windows.
The next step is to be well prepared for cleaning; thus, gathering the right tools is essential before you begin the cleaning job. Get your hands on a Sprayway glass cleaner like Windex and paper towels, or a soft cloth. You can use other ammonia-free cleaning solutions as well, but make sure you dilute them with distilled water and use a spray bottle to avoid contact.
It is important that you work in a shaded area so the drying process takes its time. Fast drying under heat conditions can cause water streaks, causing the tint to look rough. And lastly, do not use any sharp or abrasive objects on the tint.
Cleaning Tinted Windows Safely
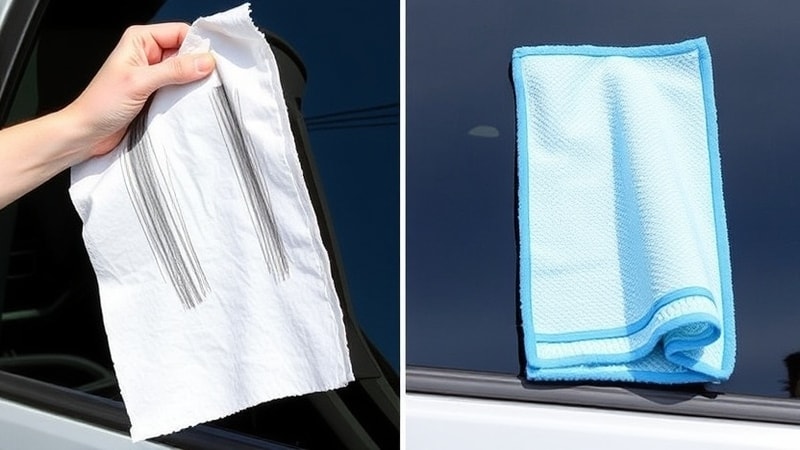
There is a proper technique to be followed that ensures the longevity of tinted windows while maintaining clarity. Start the cleaning process by using a brush with soft bristles or a microfiber cloth to remove the dirt and debris from the glass. After removing any loose dirt, prepare a cleaning solution.
You can use prepared solutions or make your own by mixing water with a mild detergent or soap. Use a spray bottle for efficiency, and apply the solution sparingly on the window. Use a microfiber cloth or nonabrasive sponge and clean the window in a circular motion. Do not apply excessive force to clean rough spots, as it will cause streaking on the film.
Safe Cleaning Products for Tinted Windows
Choosing the right cleaning products is just as crucial as the cleaning process itself. Always opt for a glass cleaner that’s explicitly labeled as “tint-safe” or “ammonia-free.” These products are formulated to clean effectively without causing the tint to fade, peel, or develop air bubbles.
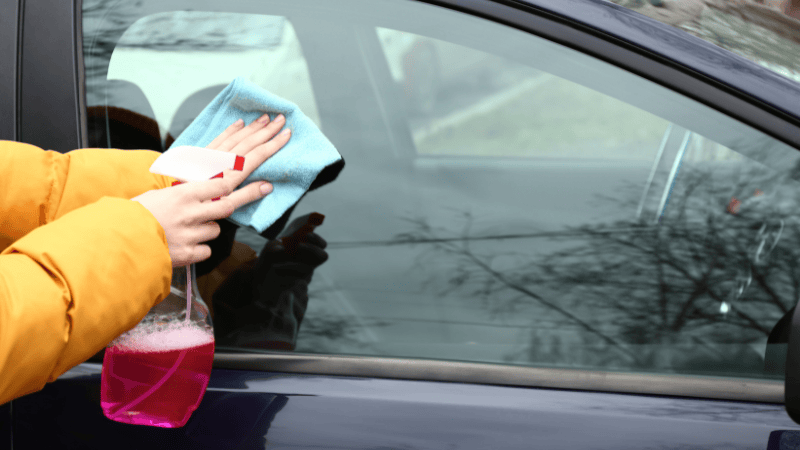
Steer clear of standard glass cleaners and harsh chemicals, as they can weaken the adhesive or damage the film’s surface. Instead, look for specialized cleaning solutions designed specifically for tinted windows. Many brands offer window cleaners tailored to maintain the film’s integrity while providing a spotless finish.
How to Clean Tinted Windows Safely
Cleaning tinted windows is a meticulous task that requires a delicate touch and the right set of tools. Here is a step-by-step guide on how to clean tinted windows safely.
Step 1: Gather the Right Tools and Materials
Before you start the project, you have to gather the right tools and materials to complete the project. Here is a list of tools and materials you will need to complete the cleaning job effectively.
- Soft microfiber cloths
- Non-ammonia-based cleaning solution
- A bucket of warm water
- Spray bottle
- Optional: Window tint-safe cleaning wipes for convenience
Step 2: Start with the Exterior
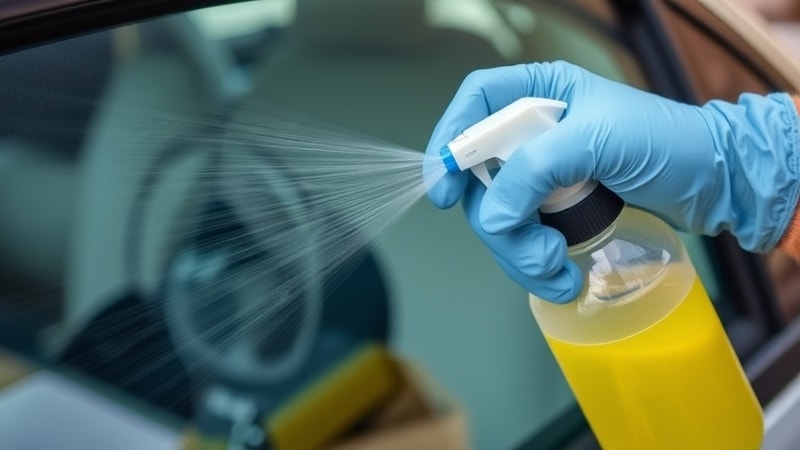
First, you have to remove the dirt and debris accumulated over time by cleaning the outside of the windows. To clean the outside of the window, use a cleaner spray directly on the window and then wipe it all with a microfiber cloth. Make sure you wipe with a non-abrasive material and do it in a single direction to avoid any streaks.
Step 3: Clean the Interior
You have to be extra careful while cleaning the interior to avoid ruining the tint. Be extra gentle while cleaning with a moist microfiber towel to avoid any scratching or peeling. Also, avoid using extra moisture on the edge of the window to prevent adhesive degradation. It is ideal to spray the solution on the cloth rather than spraying it directly on the glass.
Step 4: Rinse and Dry
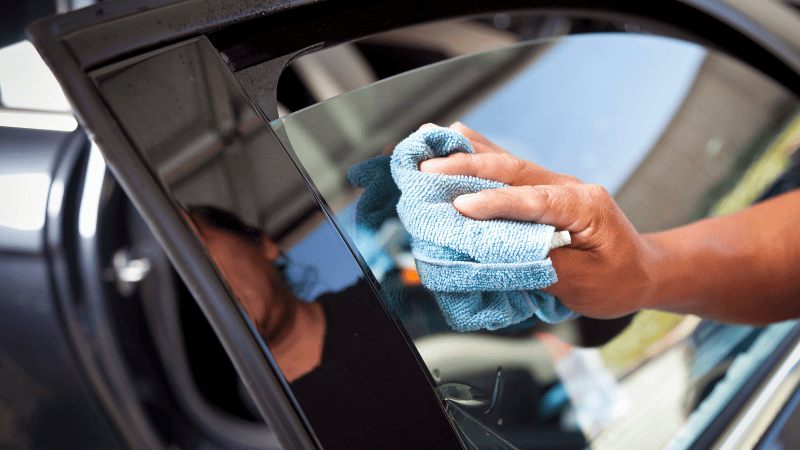
The last step is one of the most important ones to avoid any streaks. Finish the job by rinsing and drying the windows. Use a dry microfiber cloth to remove excess moisture. If you skip this step, it will cause water spots and streaks, making the whole window look unruly.
Tips for Cleaning Tinted Car Windows
Cleaning car windows with tints requires special care to ensure their flawless appearance. Begin by using a microfiber towel or a soft cotton cloth, which is delicate and scratch-resistant. To avoid streaks, lightly spray the window with an ammonia-free cleanser and wipe in one direction.
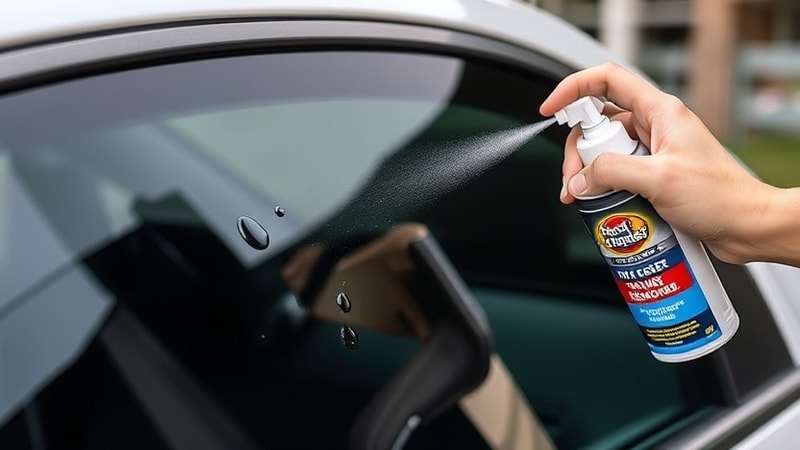
Avoid using paper towels since they might leave behind lint and stains, destroying the clean appearance. To get a streak-free shine, dry the windows immediately after cleaning with a clean microfiber cloth. Finally, take your car for a brief drive to let any remaining residue evaporate, leaving your tinted windows completely clear.
Troubleshooting Common Issues
Problems can occur even if you follow the most spectacular cleaning technique. To avoid problems, don’t use ammonia-based cleaners or aggressive cleaning methods that can harm the tint layer. Instead, use a soft rubber squeegee or cotton towel to clean safely and effectively.
If streaking occurs, ensure that you are not overusing cleaning products or using inappropriate washing methods. Consider employing a professional cleaning service for particularly stubborn stains or delicate maintenance needs. They have the necessary gear and knowledge to keep your tinted car windows in excellent condition.
Common Window Tint Problems and How to Fix Them
Window tints are not just for the aesthetic appearance; they also provide privacy as well as UV protection. However, it is not immune to wear and tear; hence, it comes with its own set of challenges. Here are some common window tint problems and their solutions.
Bubbling or Peeling
Bubbling occurs due to trapped air bubbles. There are multiple reasons for bubbling, such as poor installation, prolonged exposure to heat, and even using the wrong cleaning products. Peeling occurs when the adhesive breaks down, and the tint starts peeling off over time. The reasons are the same as it happens due to heat exposure or wear and tear.
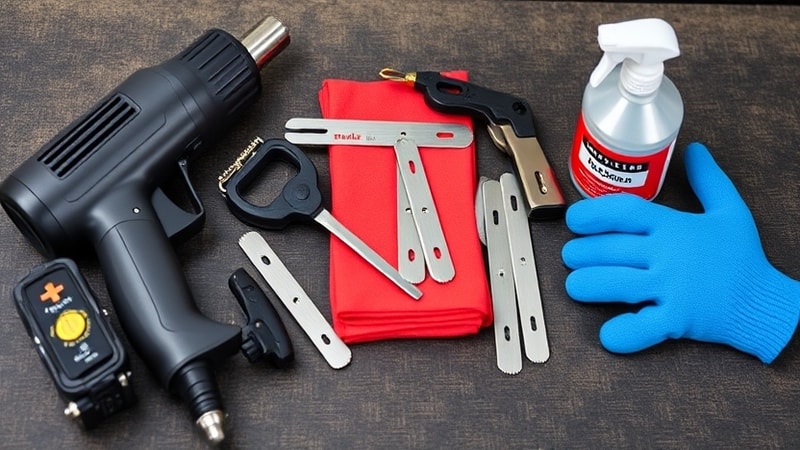
You can treat minor bubbling by gently reheating the affected area with a steamer, hair dryer, or heat gun. Once the bubble is warm enough, then smooth it out with a card wrapped up in a cloth. You can also treat peeling tint by applying heat and smoothing it out with a soft yet sturdy surface.
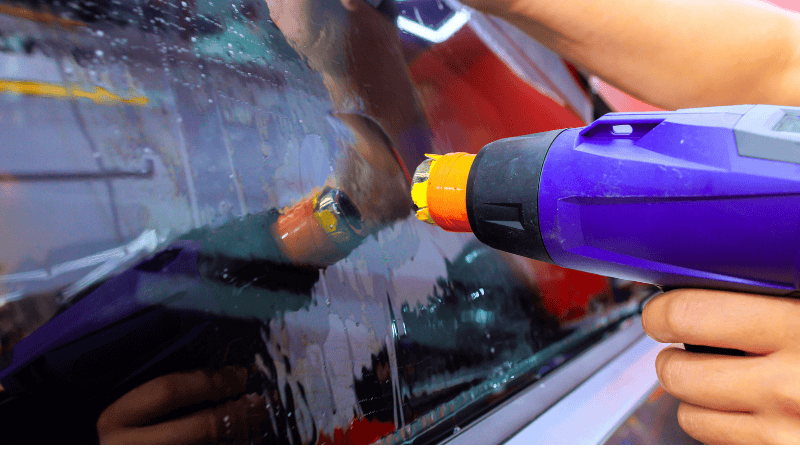
If the bubbling or peeling persists, it’s best to consult a professional for reapplication or repair.
Discoloration
Tint discoloration happens due to prolonged sun exposure or the use of low-quality after-market tints that lack UV protection. It can look like it is fading or turning purple. There is no solution to fix discoloration other than replacing the tint altogether. You should always opt for high-quality, UV-resistant window films, such as CARLIKE® ‘s window tint film. And regularly clean them with ammonia-free solutions to avoid facing these problems in the future.
Scratches
Scratches can occur if you use abrasive cleaning products, harsh chemicals, or sharp objects on the tint.
To avoid scratches, use soft microfiber towels and tint-safe cleaning agents. Minor scratches can be repaired using specific scratch repair products made for window tints. However, for deeper scratches, the damaged film needs to be replaced.
Streaking
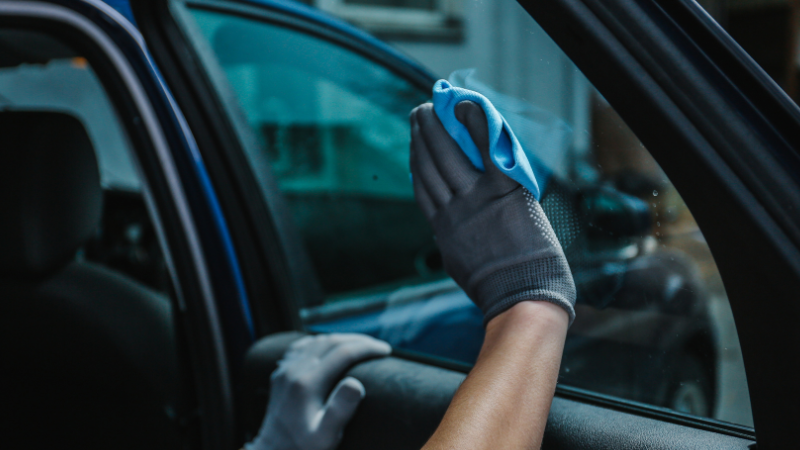
Streaking is most commonly caused by using too much cleaning solution or using inappropriate cleaning practices. Clean tinted windows with a minimum solution applied directly to a microfiber cloth rather than the glass surface. To obtain a streak-free finish, wipe in continuous circular strokes and quickly dry with a dry, clean cloth.
Long-Term Maintenance for Tinted Windows
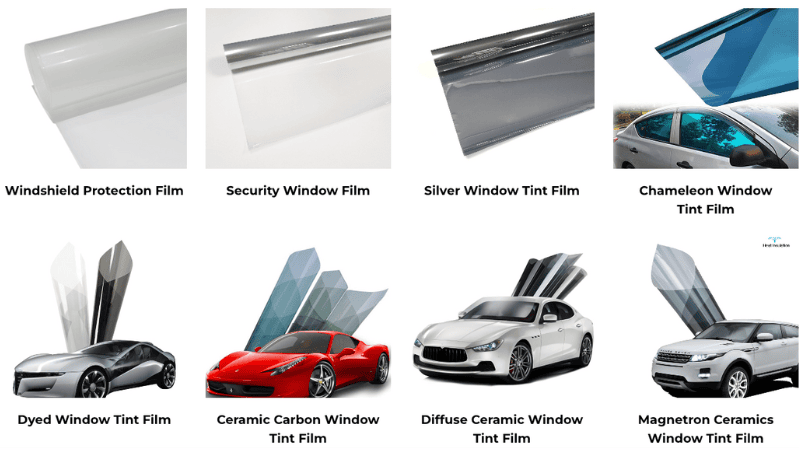
A professional installation is the first step in ensuring that your tinted windows will last. High-quality tinting products, such as those available at Carlike, provide increased durability and pristine color retention.
Choosing an experienced installation ensures a perfect application, lowering the risk of bubbling, peeling, or premature wear. And this can also save the cost of window tinting in the long term.
To keep your windows looking their best, clean them on a regular basis with ammonia-free solutions and soft microfiber cloths. Avoid using aggressive cleaning products or chemicals that could damage the film. With appropriate maintenance and attention, your tinted windows will not only look wonderful but also work well for many years to come.
Professional Window Tinting Services
We’ve covered everything from how to clean tinted windows for automobiles, commercial properties, and residential spaces to the essential do’s and don’ts and a step-by-step cleaning process. You can effectively maintain the appearance and functionality of your tinted windows, ensuring their longevity and optimal performance, by following our expert advice.
However, if you still feel lost or are facing challenges cleaning the tint, you should contact a professional. A professional can provide comprehensive services, from cleaning to installation and repair. The expertise of professionals ensures that your window stays in top condition.
Frequently Asked Questions
Q: What is the best thing to clean tinted windows with?
A: The best thing to clean windows with is a microfiber cloth with an ammonia-free glass cleaner or a mild soap and water solution.
Q: How do you clean window tint glue?
You can clean window tint glue with an adhesive remover. Let the adhesive remover set for a couple of minutes before using a microfiber cloth to lift off any residual glue. Avoid abrasive tools or harsh chemicals to prevent scratching the window or damaging the tint.
Q: How long does my window tint last?
High-quality car window tints can last for more than 5 years. With appropriate maintenance and cleaning, your tinted windows can keep looking wonderful and work well for 5-10 years, saving a lot in the long run.
Conclusion
Now that you’ve learned how to clean and maintain your tinted windows properly, it’s time to put these tips into practice! To ensure that your tint remains clean and long-lasting, please use the suggested techniques and materials. If you’re having trouble or need expert advice, don’t be afraid to seek assistance from Carlike’s professionals.
Flawless Tints Start Here – Get Your Free Expert Consultation Now!
Want to experience streak-free, crystal-clear window tint film? CARLIKE® delivers premium vinyl tints with unmatched clarity and durability for 15+ years. Skip the guesswork—let our experts guide you to the perfect solution for your car. Get personalized recommendations and pro maintenance tips today!
Contact us now for a free consultation! Transform your windows effortlessly!

