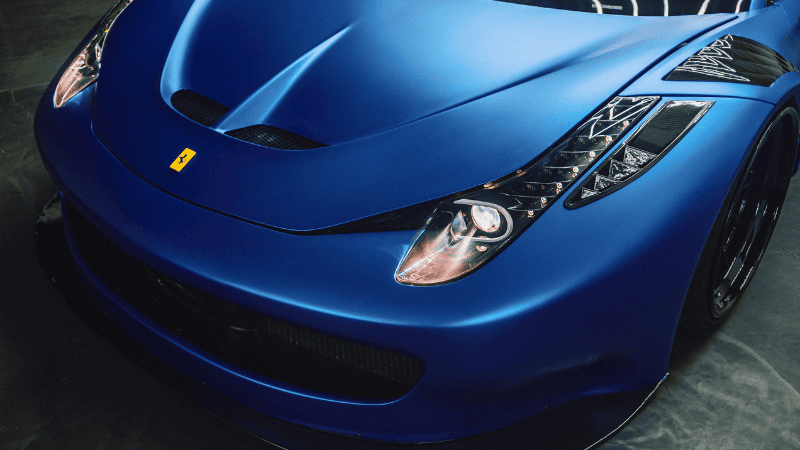
Want to get a car wrap but don’t know what to look out for? This blog reveals a step-by-step application guide, maintenance tips, and paint-safe removal secrets that turn beginners into wrapping wizards. Whether you’re upgrading your ride or starting a wrap business, these pro tips will save you from costly mistakes! Time to master vinyl car wraps? Let’s start now!
What is a Vinyl Car Wrap?
A vinyl car wrap is a thin film made up of polyvinyl chloride (PVC) polymer. PVC is hard in nature, so elastomers are added to it to make vinyl wraps flexible. Some additives are added to make the films resistant to UV rays and heat.
Adding rich pigments gives these films a wide range of colors. The main component of a vinyl wrap (PVC) is lightweight and has many properties, such as durability, strength, abrasion resistance, and weather resistance.
Vinyl car wraps are adhesive-backed, thin plastic sheets. Their thickness varies from 2 mils to 6 mils, where 1 mil equals 1/1000th of an inch. The thin and flexible nature of vinyl wraps makes their installation easier. Due to these properties, car vinyl wraps are gaining popularity around the globe, and this market is expected to reach $12.25 billion in 2025.
Preparing to Wrap Your Car
The first step for vinyl car wrapping is gathering all the tools, deciding which finish you need to buy, gloss, matte, or metallic finish. And calculating how much of the car wrap you need. Let’s explore the sort of preparations you would need to make:
Measuring Your Vehicle
Before buying a vinyl film roll, carefully measure your vehicle to figure out how much material you’ll need to order. Here’s a beginner-friendly process to measure your car:
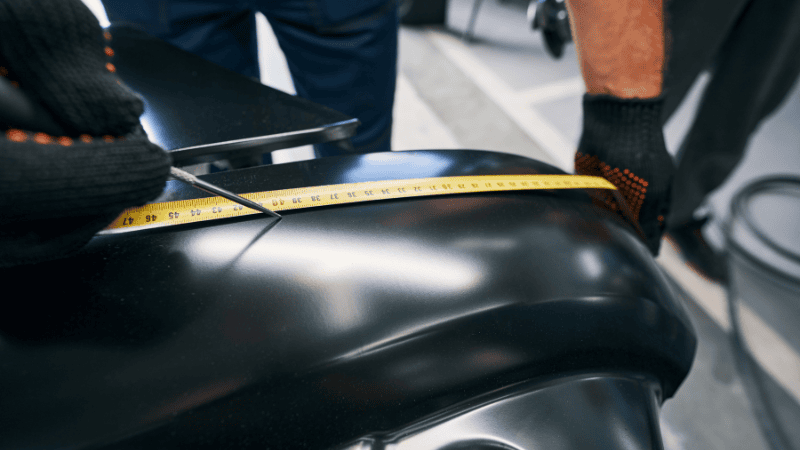
Length measurement based on the type of vehicle
While measuring the length of your car sidewise, add 6 inches on both sides to cover for the curves. Measure the length of your car from the front fender to the back fender and use the following formula to estimate the total length of the sheet:
- Sedan without bumpers: Multiply the side length with 3.25
- Sedan with bumpers: Multiply the measurement with 4
- Truck without bumpers: Multiply the length by 3
- Truck with bumpers: Multiply the length with 3.75
Measuring the panels
Here is how you can measure each section of your car:
- Start with the hood, as it is easier to measure. Estimate an extra 3 inches of car wrap to all sides. This extra measurement is termed as bleed, and it makes it easier to pull the film from its adhesive side during installation.
- Similarly, add an extra 3 inches of bleed while measuring fenders.
- Measure the back bumper because it is wider, and multiply its measurements by 2 to cover both bumpers.
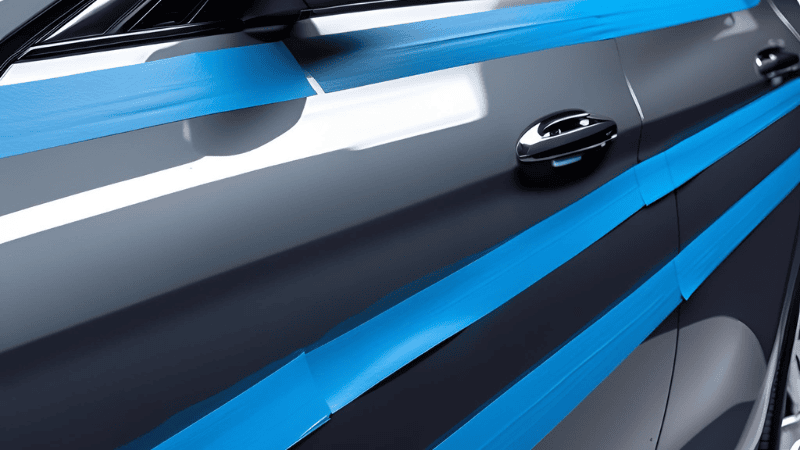
Tips on noting down the measurements
You can either use a measuring tape or a blue painter’s tape to measure the panels of your car. Using a blue painter’s tape might be a convenient way to take measurements. We recommend using this because it comes off easily without leaving any glue residue on the surface.
Simply, apply the blue painter’s tape on the borders of every section and account for excess material.
Remove the tape and lay it on a clean surface to estimate the total length of car wrapping you’ll need to order. Write down every measurement on a piece of paper.
Purchasing Vinyl Wraps
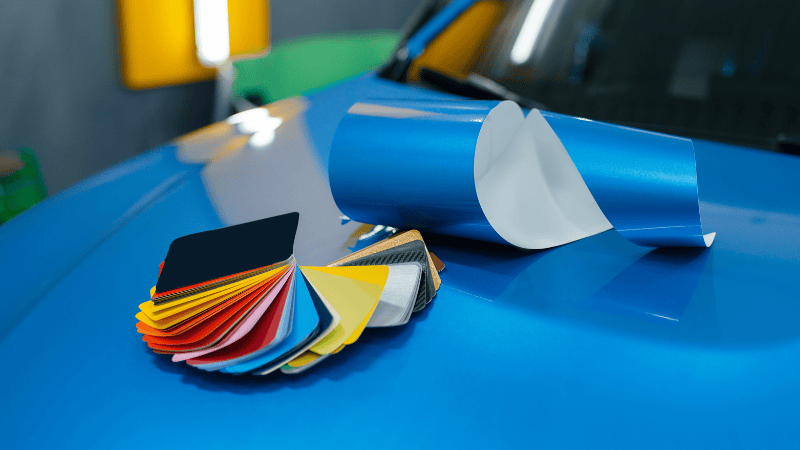
Learn more about different factors affecting the car wrap’s costs and plan according to your budget. Go for a reputable supplier to order material for your DIY car wrap project. Avoid off-brand products as they can lose their adhesion, fade in color, and shrink over time.
Opt for renowned brands in the market. Make sure to choose a brand offering features such as bubble-releasing technology, longevity, and stretchability.
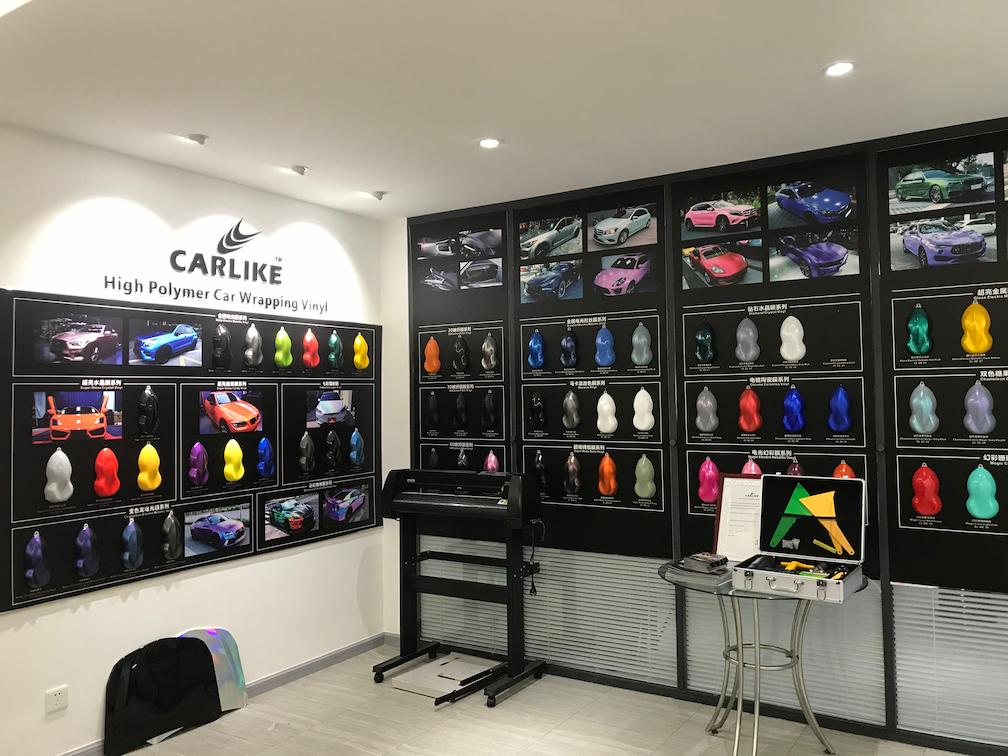
You can pick from over 200 colors in multiple finishes, like satin, matte, metallic, or glossy, from our car wrap vinyl collection.
If you are a beginner, we recommend buying 3 yards of extra wrapping material to leave a margin for mistakes. Even if you are experienced in car wrapping, purchase a little extra film to avoid running short of material.
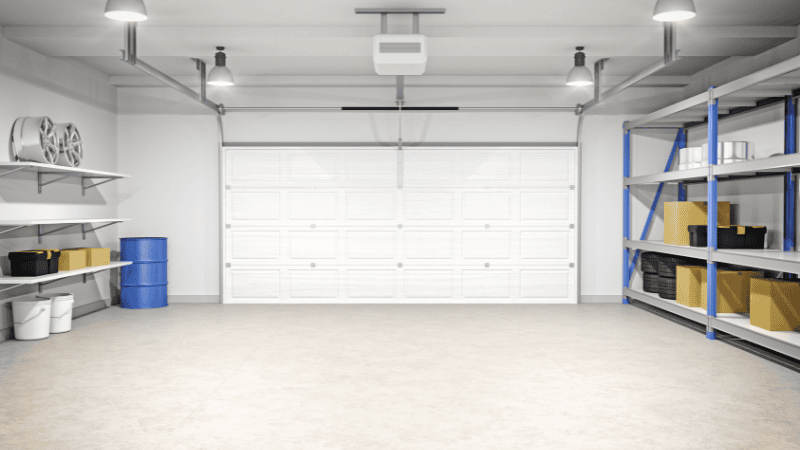
Preparing Your Space
Controlled temperature, a clean environment, and less humidity are crucial for wrapping cars professionally. To get a flawless finish, choose a large indoor space where you can have enough space to move around and organize every tool you need.
Make sure the place has adequate lighting because vinyl car wrapping requires a careful approach.
Vinyl wraps are temperature-sensitive. The adhesive material needs the optimal temperature of 60-80 degrees Fahrenheit (15-26 °C) to adhere properly to the car’s surface. Below this temperature, the glue gets hard and does not stick to the surface, and above this temperature, the vinyl wrap gets overstretched, which results in a poor finish.
Make sure the place has low humidity, as the vinyl film does not adhere properly in humid conditions. Always clean the space before starting the wrapping process because trapped dust and debris can leave clear bumps in the finish.
Whether you are a beginner or a pro, windy conditions can make the installation process a lot more challenging. This is why wrapping your car in an indoor space also allows you to create the most favorable conditions to get a flawless look.
Essential Tools:
Necessary tools for car wrapping include:
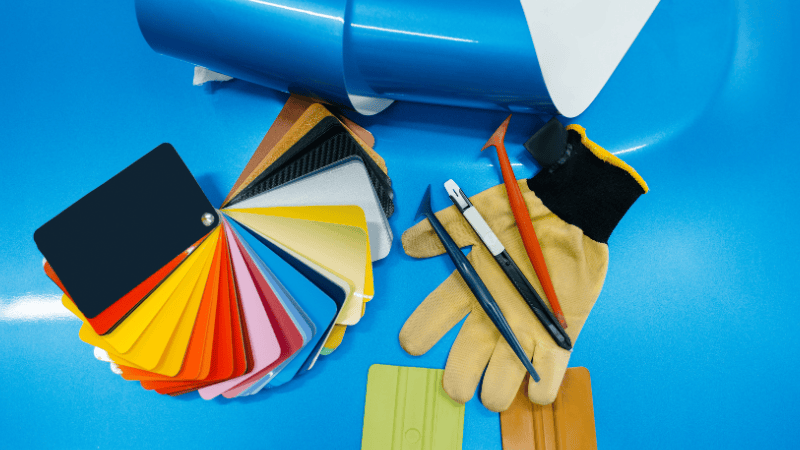
- Heat gun or hairdryer
- Squeegee
- Magnets
- Utility knife with fresh blades
- Infrared thermometer
- Needle or air-release pen
- Measuring tape
- Surface cleaner and microfiber cloths
- Masking tape or Blue Painter’s tape
- Pen and paper
- A high-quality car wrap
Optional Tools:
- Cotton gloves
- Application fluid
- Cutting tape
Surface Preparation and Planning
Get your car ready for wrapping by doing the basic prep work because applying vinyl film on a dirty surface will give a poor finish. Here is how you can prepare your vehicle for wrapping:
Preparing Your Vehicle
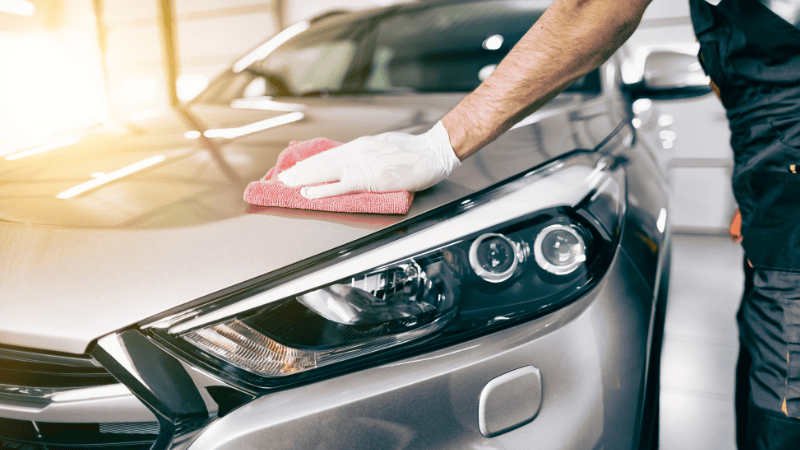
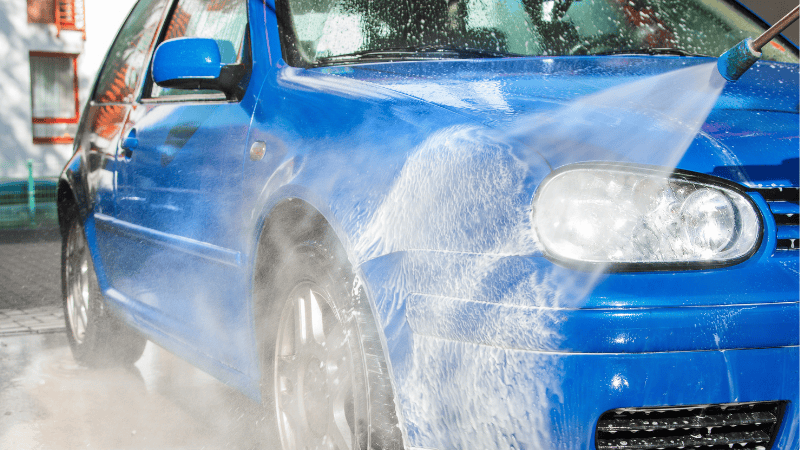
To get a professional-level finish, make sure your car is clean. Consider bringing your vehicle into a car wash the day before wrapping it. Let it dry completely before starting the process. Use an isopropyl alcohol solution to clean any wax or grease residue. Ensure there is no dust, dirt, wax, or any other item left on the surface that may get in the way of the wrap.
Fix deep scratches, dents, or any imperfections before wrapping. Make sure your car’s paint job is in good condition; if it’s not, consider going for a paint correction.
Planning the Vinyl Car Wrapping Design
Map the whole process in your mind and write it down to remember it. We recommend you start wrapping from the smaller sections, as this will give you confidence. However, applying the vinyl film to the flat area is also a wise strategy.
Check out your car for the objects that you will not be wrapping, such as logos and ornaments. Remove them carefully before starting the process. Again, measure each section of your car and add some extra inches to the wrap for handling.
Step-by-Step Guide to Wrapping a Car
The following guide shows how to vinyl wrap a car professionally:
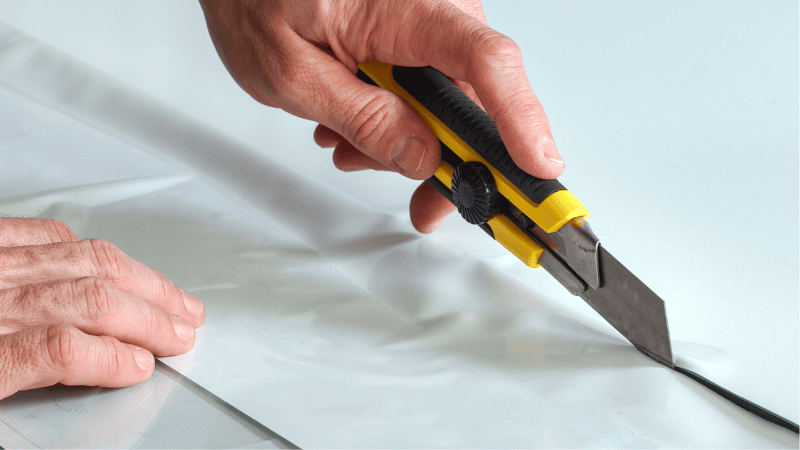
Step 1: Measure and Cut the Vinyl Wrap
Now that you’ve noted down the measurements of every section, cut vinyl pieces accordingly. Avoid taking all the film out of its box for easier handling.
There is a trick you can use to cut the vinyl film easily. Paste a masking tape on the borders of a table and mark accurate measurements on it. Extend the film on the table and cut it by measuring with the tape, leaving extra material for adjustments.
Step 2: Position the Vinyl Wrap
Place the vehicle wrap loosely on the car’s surface and align it with curves and edges. Use magnets to hold the wrap in its place. While handling one side, you can secure the other side with masking tape.
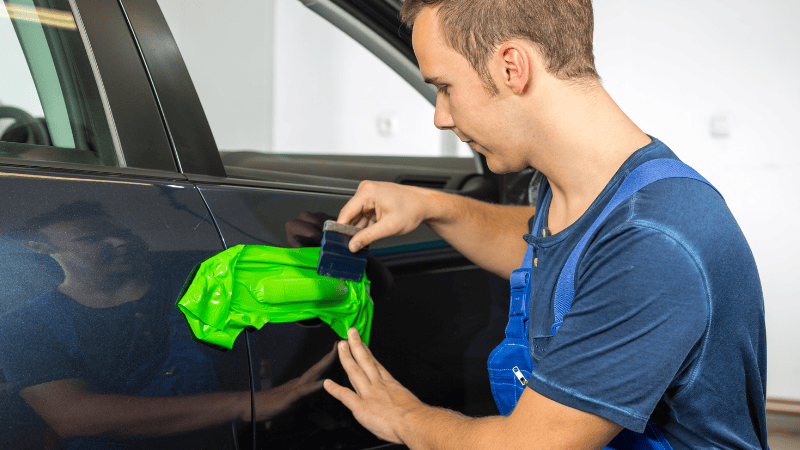
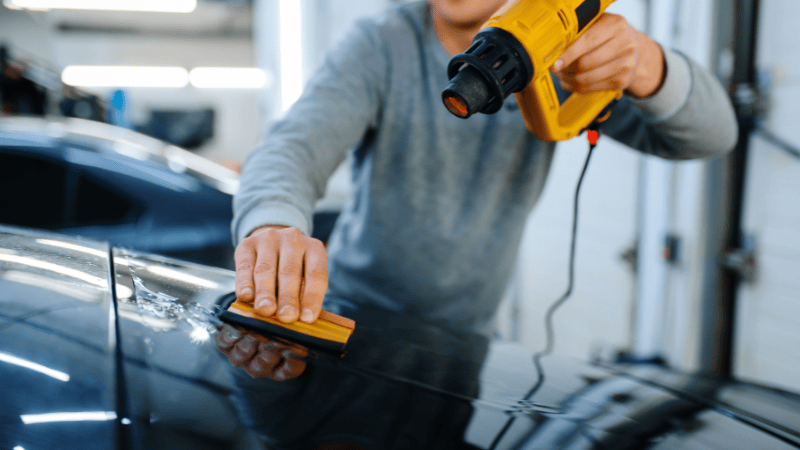
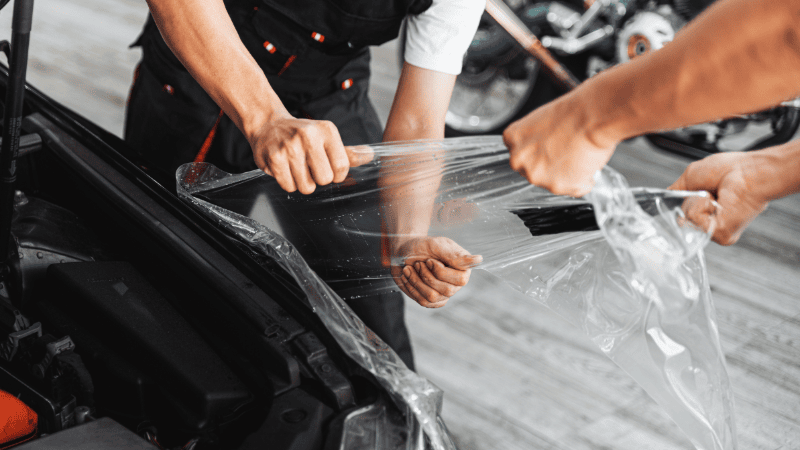
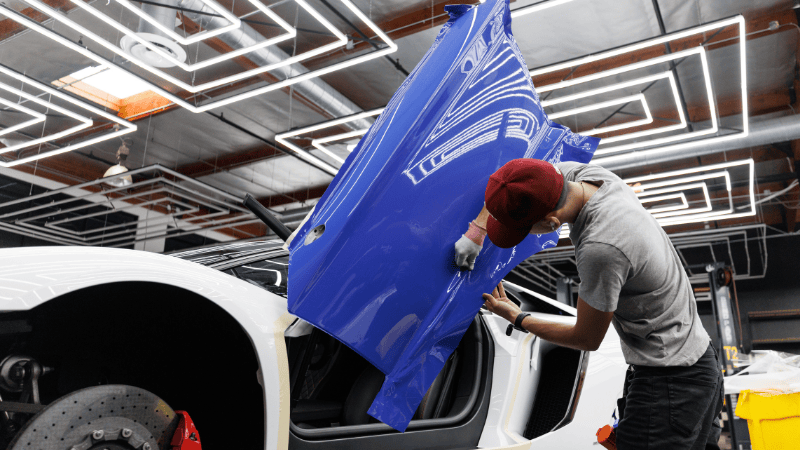
Step 3: Apply the Vinyl Wrap
If you are working with a partner, both of you must wear nitrile gloves that can protect against most chemicals and infectious agents. Hold the edges of the film stretched in the air. Carefully remove the liner from the wrap and paste it to the surface.
Even out the film with a squeegee by starting from the center and moving outward toward the edges. This will release the trapped air under the film.
Apply gentle heat using a heat gun or hair dryer to make the vinyl flexible for curves and contours. Avoid increasing the temperature over 80°C or 120 °F. Use a thermometer to ensure you’re not overheating the wrap.
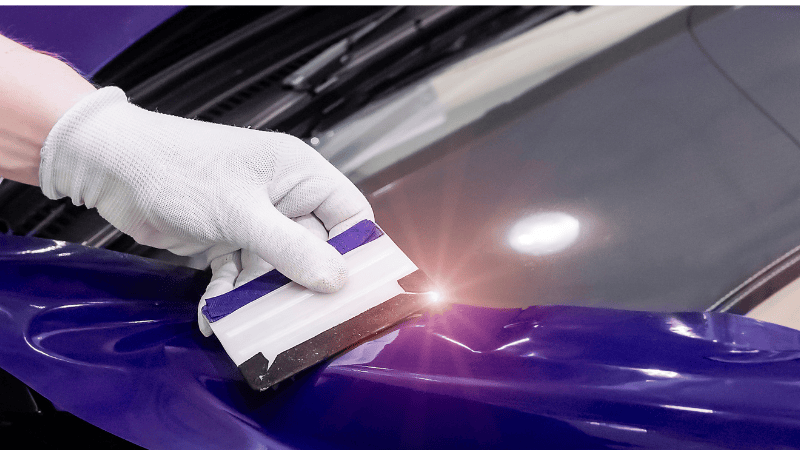
Step 4: Smooth and Stretch the Vinyl
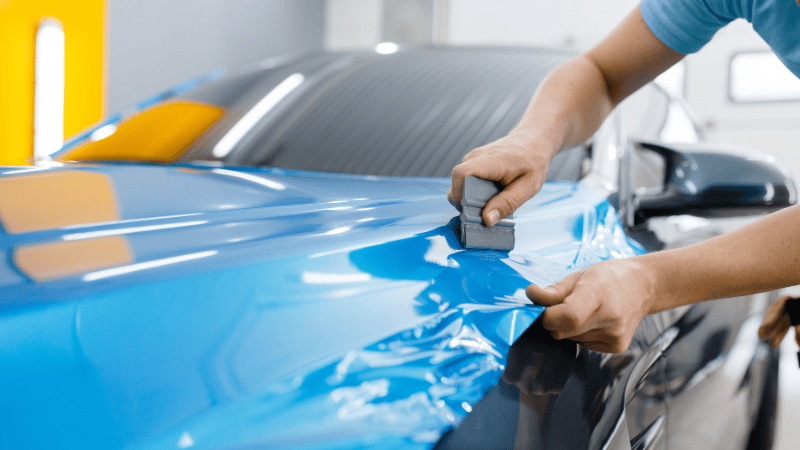
Stretch the vinyl film over the surface, especially around the edges, for a smooth installation. Use a squeegee to even out the wrinkles or air bubbles. Be patient while wrapping around the curvy surfaces, like mirrors.
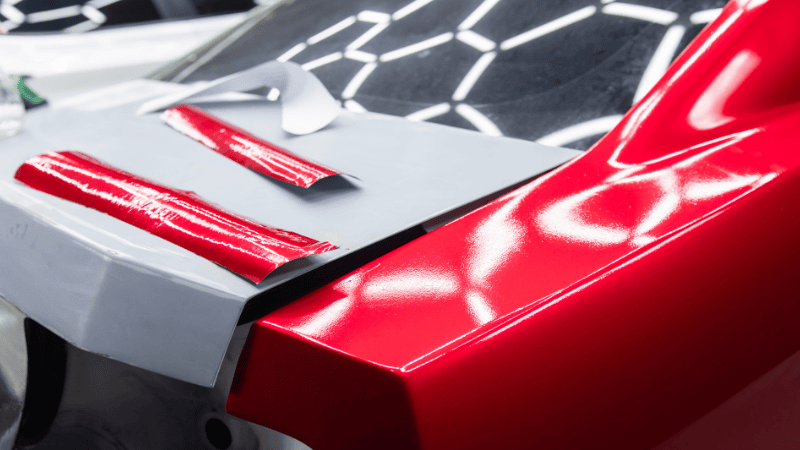
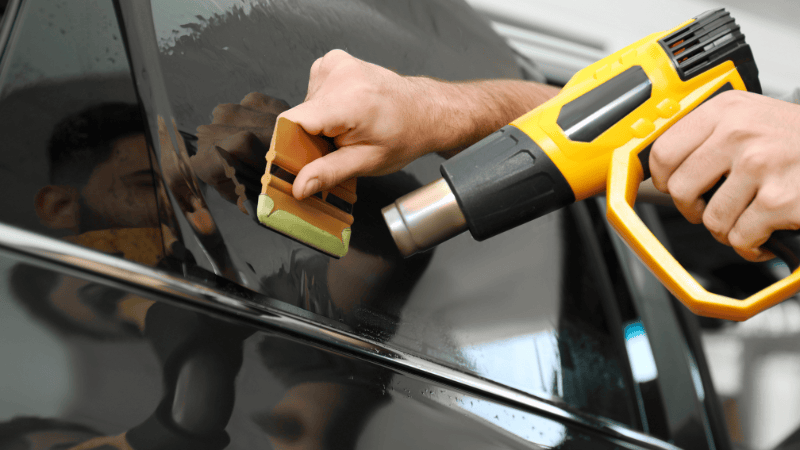
Step 5: Trim the Excess Vinyl
Trim the wrap around the edges, panels, and intricate areas with a utility knife. You can use cutting tape for precise and clean cuts. Use a heat gun to get a smooth finish around the edges.
Step 6: Finish with Heat
Heat the entire wrapped surface using a heat gun at 212 °F. Heating will activate the adhesive material and form a long-term bond with the surface. This process will smooth out any wrinkles left on the surface.
If bubbles appear at this stage, simply pop them using a needle. After finishing the wrapping process, wait for 12 hours for the film to set on the surface.
Applying the Vinyl Wrap
Follow the following car wrap tips and tricks to get the best possible results:
Application Techniques
Curved surfaces are hard to cover because the wrap is prone to getting wrinkled in those areas. So, you’ll need to be extra careful while wrapping around the curves. This is why we always recommend starting with a flat section, such as the hood or roof of your vehicle.
Cut a piece of the vinyl film that’s the right size for the section you are covering. Measure the area of the film and then cut it to those dimensions using a sharp blade or any cutting tool. Remove the liner backing and apply the film onto the surface.
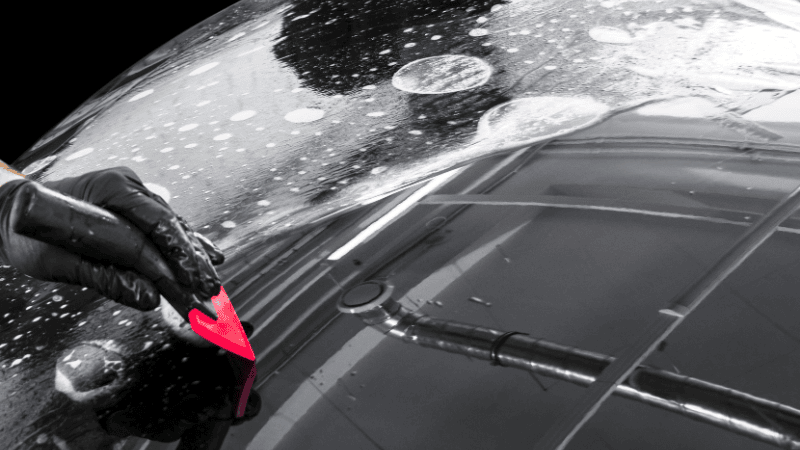
When using the squeegee, each stroke should slightly overlap the previous one. This ensures consistent pressure and helps prevent air bubbles or wrinkles from forming between the strokes.
Troubleshooting Common Issues
To avoid issues from arising, ensure to use car wraps of high quality, such as CARLIKE®’s premium car vinyl wraps. However, there are some common challenges that still arise while wrapping a car, but you can troubleshoot them easily.
- One of the most common issues with wrapping is the formation of air bubbles. Use a heat gun to stretch the film and even out the bubbles.
- After wrapping a section, post-heat the film to 200 degrees Fahrenheit to smooth out the remaining bubbles and wrinkles.
- Use a squeegee with overlapping strokes. Work from the center outwards to push air towards the edges.
- Creases may occur during application, especially on curved surfaces. To fix this, gently heat the film with a hairdryer or heat gun. This will make it pliable and allow you to stretch and reposition it.
- Sometimes, the edges of the vinyl do not adhere properly or lift after application. To fix this, use a heat gun to reactivate the adhesive and press the edges down firmly.
Specialized Techniques
If you follow some specialized techniques while wrapping your car, you can achieve a flawless finish despite being a first-timer.
Advanced Vinyl Wrap Techniques
- While wrapping the curved surfaces, like bumpers, mirrors, and door handles, use a heat gun to make the film flexible and conform to the contours of the surface. Use techniques like “bridging” (stretching the vinyl over a recessed area) and “relief cuts” (small incisions to relieve tension) to achieve a crease-free finish.
- Use a squeegee to smooth out the wrinkles and bubbles.
- Wrapping a car requires patience and focus. Be gentle and carefully install the wrap on the curved surfaces, as they naturally become challenging for a flat material like vinyl. Rushing the process or using excessive force can lead to wrinkles and creases that are difficult to remove.
- When working with curves, it’s necessary to stretch the vinyl to some degree because overstretching can weaken the material, leading to tearing or a “stretched-out” appearance that doesn’t look professional.
Maintenance and Removal
To make your car wrap last for years, you must know some key factors affecting its longevity and follow some guidelines regarding its maintenance. In this section, we have discussed how to care for your car wrap and how to remove it without damaging the underlying paint.
Caring for Your Vinyl Wrap
Some finishes, such as matte wraps, require specialized maintenance. However, the following are general guidelines on taking care of your car wrap:
- Try washing your car at least once a week to prevent dirt and grime build-ups. If you have installed a matte wrap, we recommend washing more often compared to other finishes.
- Use a gentle cleaning soap to wash your car. For matter wraps, avoid using wax-based detergents.
- Use a soft cloth, like a microfiber towel, to clean the surface.
- Try parking in the shade whenever you can to avoid color fading.
- Avoid using harsh chemicals or abrasive cleaners.
- Avoid putting your car through an automated brush car wash, as it can cause peeling and lifting of the edges.
- Use isopropyl alcohol solution for spot cleaning.
- If you are pressure washing your wrapped car, keep the pressure below 2,000 psi and keep the spray nozzle 12 inches away from the edges.
Removing Vinyl Wrap from Your Car
Removing a car wrap is a simple process. But you should prepare the 5 tools needed for removal. Here is how you can remove it safely:
- Use a heat gun or hair dryer to loosen the adhesive. Apply heat to one of the edges to make the wrap pliable.
- Use a plastic scraper or a plastic razor blade to gently lift the wrap.
- Keep applying the heat and lift the film at an angle of 25° to 40° to safely remove it. Lifting at sharp angles, such as 90°, can damage the original paint.
- Use a non-contact infrared thermometer to confirm even heating.
- Remove the glue residue from the surface using any adhesive remover.
We have written a detailed guide on removing a car wrap safely. You can read it for more information.
FAQs
Here are some common questions that you might have right now.
Q1. How hard is it to wrap a car?
Wrapping a car can be a simple and fun activity if you carefully follow the process with patience.
Q2. How long do vinyl car wraps last?
Premium quality vinyl car wraps can last about 5 -7 years. If you maintain them properly, their longevity can be longer. To make the car wrap last longer, make sure you are washing it regularly, cleaning it gently, and avoiding prolonged sun exposure and harsh weather conditions.
Q3. Is it cheaper to paint or wrap a car?
Wrapping a car is a cheaper option compared to a paint job. Car wrapping also gives you a reversible option for customization and the freedom to express your creativity!
Conclusion
Transform your car with a vinyl wrap! This guide explains what wraps are and provides step-by-step installation techniques, including specialized tips for flawless results. It also gives proper maintenance and easy removal methods to keep your vehicle looking sharp. A premium wrap can protect the paint while giving your car a stunning, custom look at a fraction of repainting costs!
Upgrade Your Ride with CARLIKE® Premium Vinyl Wrap Now!
Ditch the DIY stress and vinyl doubts! CARLIKE®, a leading Chinese manufacturer of premium vinyl wraps, offers a stunning range of high-quality car wraps. Our car wraps are engineered to resist peeling, fading, and scratches for years, looking showroom-new.
CARLIKE® also provides bubble-free perfection of wrapping. Get Your Dream Car Look Today!