Do you want to remove your car’s vinyl wrap without any trouble? We’ve got the perfect solution for you. This guide provides clear steps and tips to help you remove vinyl wraps safely and effectively. Are you ready to remove your car’s vinyl wrap without any hassle? Let’s get started!
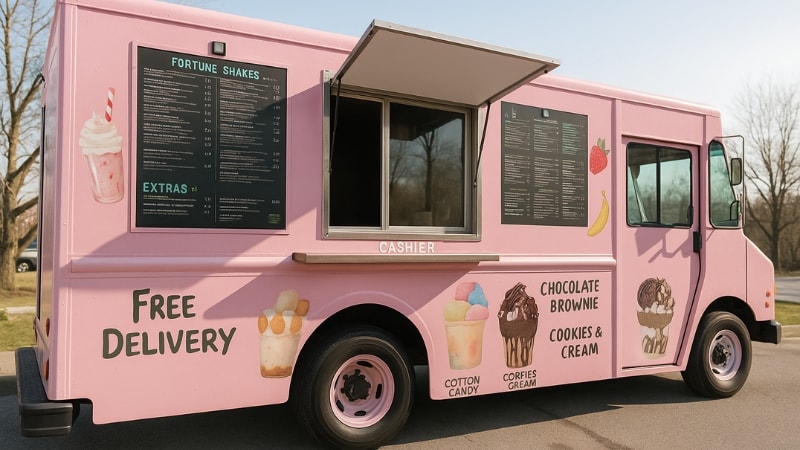
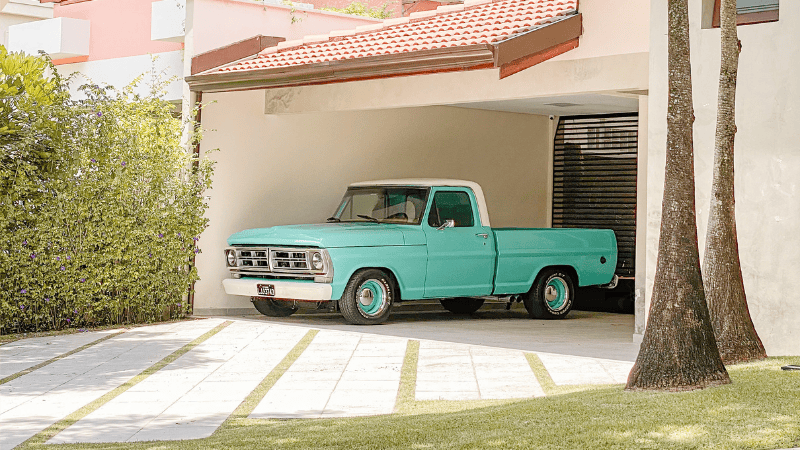
Car wrapping is a cost-effective way to transform your vehicle into a moving advertisement while preserving the underlying paint. Most businesses get up to 70,000 daily car impressions with this type of advertising. For example, it is common to see food truck wraps with advertisements.
In addition to advertising, vinyl wraps also have the great benefits of protecting your car’s paint for a long time and customizing your car to show your special aesthetic style.
Even though car wraps give you an innovative way to market your brand, there comes a time for change. Here are the top reasons businesses remove car vinyl wraps:
- Rebranding
- Preparing for a new promotional campaign or
- Refreshing the fleet’s appearance
But whatever the reason, you must have the ability to remove the existing wrap without damaging your vehicle’s paint. This is a challenging process for some. Mostly because you have to ensure the car’s original paint remains intact.
Our article shows you how to remove vinyl from a car to ensure a smooth transition to your next design.
How Long Do Vehicle Wraps Last?

The average lifespan of a wrap typically ranges from 5 to 7 years. That’s half a decade of uninterrupted advertisement for your brand. If you go for high-quality car wraps, you’ll keep your vehicle looking sharp for longer. This is largely because most car wraps are built to withstand the sun, rain, and even snow. In addition to choosing high-quality wraps, it is essential to clean and care for the car wrapped carefully to prolong its service time.
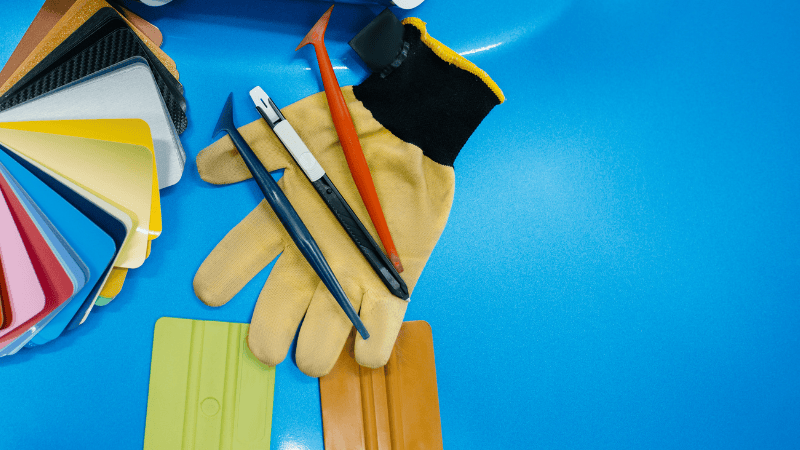
Tools Needed for Vehicle Wrap Removal
Do you know what will determine whether you achieve professional results or not?
The right tools.
These make all the difference. The following tools will help you achieve professional results:
1. Plastic Scraper
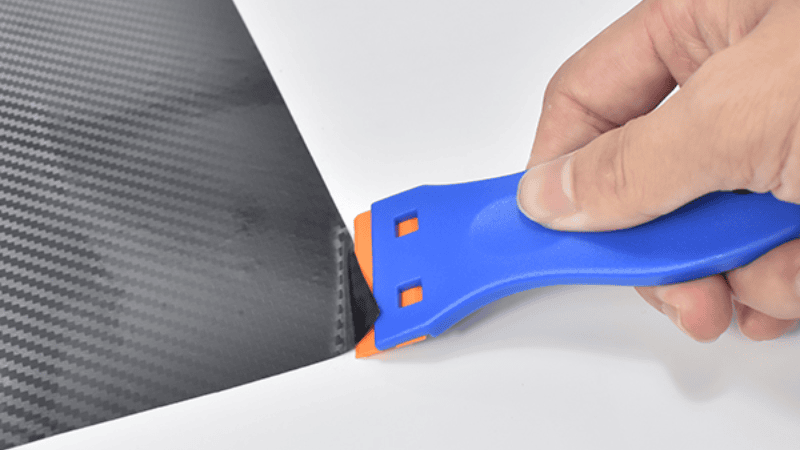
This tool helps you lift the wrap without scratching to ensure your vehicle stays pristine. Their non-abrasive surface won’t damage your car’s paint job. This is why many people prefer this plastic tool as opposed to the metallic alternatives.
So, you may want to keep off metallic alternatives, because they may easily scratch your paint. You don’t want that, right?
2. Heat Gun
The vinyl you are trying to remove is still sticking firmly to the car’s surface.
Therefore, it’s recommended to loosen the adhesive bonds to easily remove the wrap. A heat gun is one of the options for this task. Although others use a blowtorch to soften the vinyl wrap, a heat gun is the most common tool. And it should be used properly and safely.
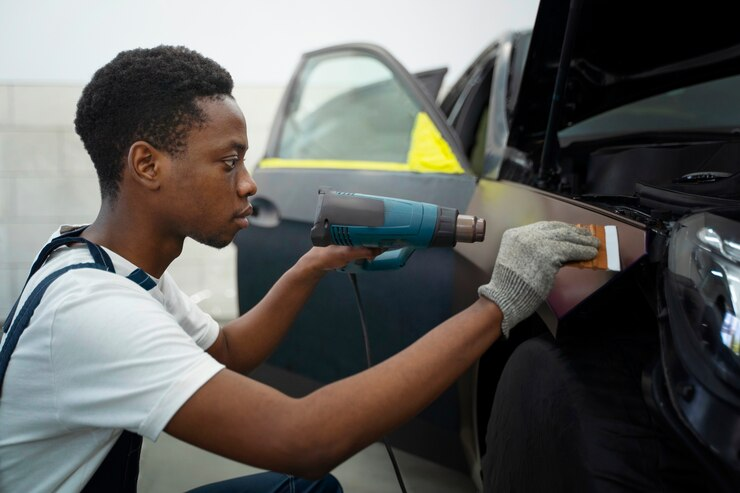
It emits hot air to allow you to peel off the wrap with ease. Without it, you’ll take more time to remove the wrap. It leaves you frustrated and with poor results, too.
3. Adhesive Remover
This is a solution that dissolves the stubborn adhesive residue left behind after peeling off the wrap. Just like a heat gun, an adhesive remover makes the process faster and smoother.
4. Spray Bottle
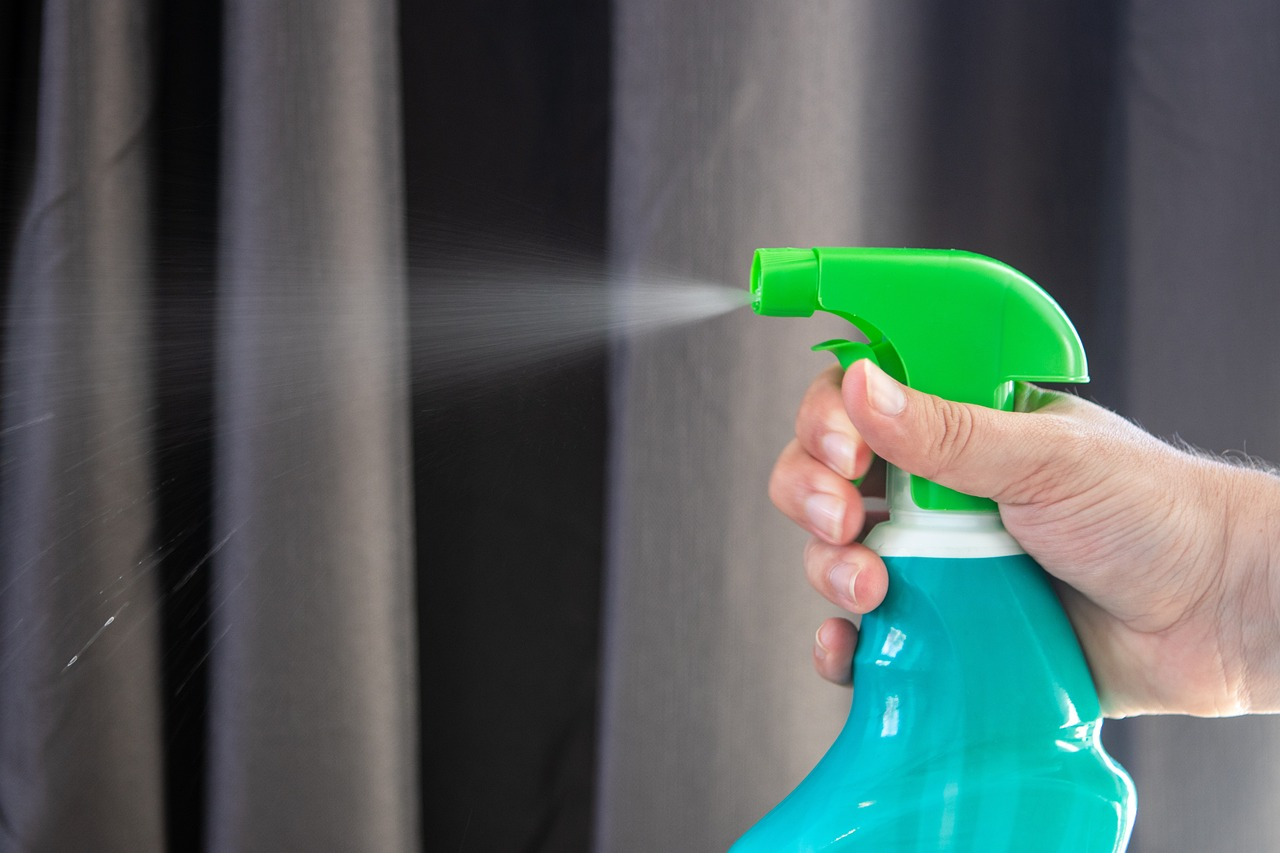
The bottle holds a mixture of warm water and mild detergent that is mostly used to soften the tricky spots. You don’t have to struggle with the corners or risk scratches.
Using a spray bottle and detergent to peel off the wrap can help avoid damaging the original car paint.
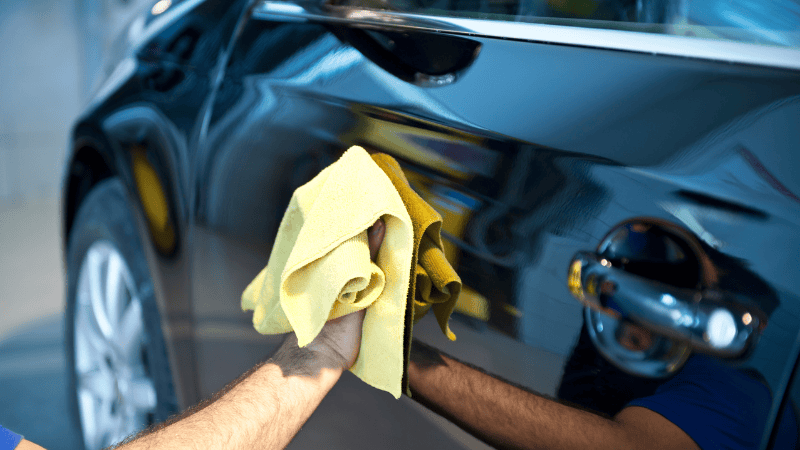
5. Cloth Rags
These might seem like the most ordinary tools in this list, but they make the job easier, just like the others. You can use cloth rags to clean up the residue after peeling off the vinyl.
A microfiber towel is the most preferred, and it includes four types. The polishing microfiber cloths are recommended because their longer pile ensures they lift dirt without scratching or smudging.
Step-by-Step to Remove a Vinyl Vehicle Wrap
Follow the guide below to remove wraps from your vehicle:
1. Prepare Your Environment
To succeed, you must set the stage for success.
Your work environment is a key part of the process. If you thoroughly prepare it, you’ll enjoy a smoother car wrap removal. Here is what to do to minimize potential mishaps along the way:
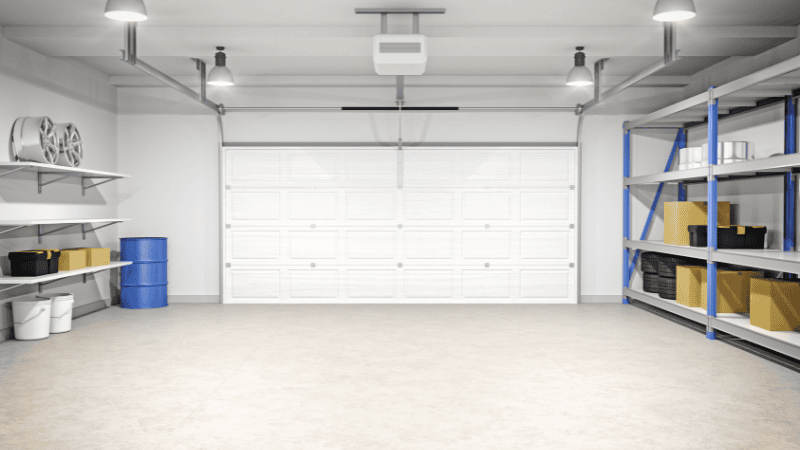
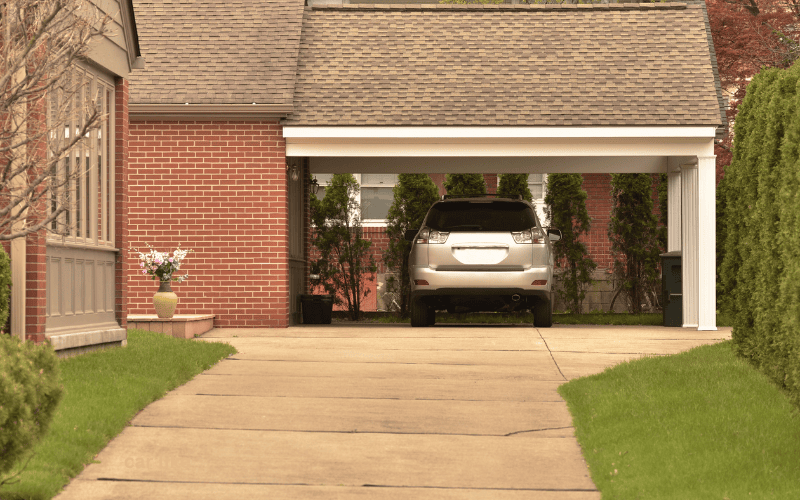
Choose a Suitable Location
The ideal area should offer enough space to let you comfortably maneuver around your vehicle. A garage or a shaded outdoor spot works best.
Because either of these protects you from the elements while providing ample room to work.
Gather Your Supplies
Make sure you have all the necessary tools and materials before starting. We have mentioned most of the tools, but here is a summary of how each will help you:
- Heat gun: softens adhesive for easier removal
- Plastic scraper: helps you safely lift the vinyl without damaging the paint
- Adhesive remover: assists in dissolving any stubborn residue left behind
- Microfiber Towel: wipe away excess adhesive to keep the surface clean
Protect Surrounding Surfaces
Shield nearby areas from potential damage. You should cover it with masking tape or plastic sheeting. This prevents accidental scratches or adhesive transfer onto unintended surfaces.
Moreover, open windows or doors to dissipate any fumes safely. Adequate airflow is important, especially when you are using a heat gun.
Wear Protective Gear
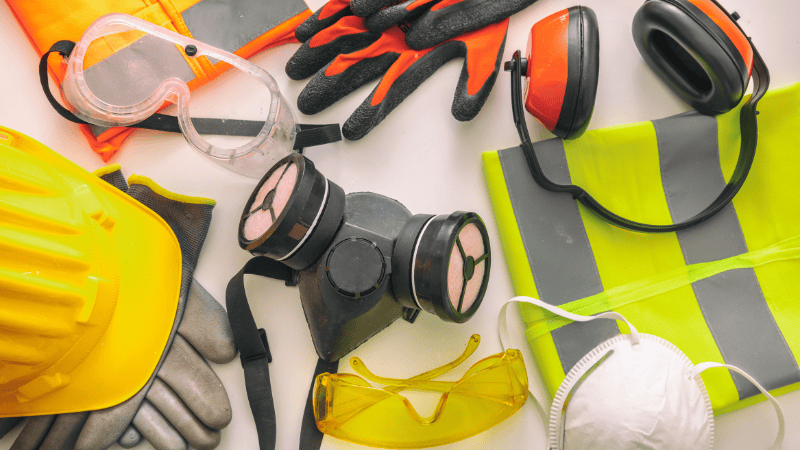
The last step here is to protect your safety. Your life matters. So, wear gloves and safety glasses to shield your hands and eyes from hazards during the removal process.
2. Prepare Your Vehicle
Other than the work area, you must preserve the integrity of your car’s surface.
Park Your Vehicle in a Shaded Area
This shouldn’t be an issue, especially if you are working in a garage or have thoroughly prepared your work environment. But for those working outdoors, ensure your car is in a shaded area to shield it from direct sunlight before attempting anything.
The reason for this is that sunlight can make the vinyl more difficult to remove. It may also cause damage to the paint underneath.
Inspect the Wrap
Since your car wrap has been used for more than one year, it may have been damaged or worn out. So, check for any signs of damage or wear. Please take note of any wear spots, as they’ll require extra care during removal.
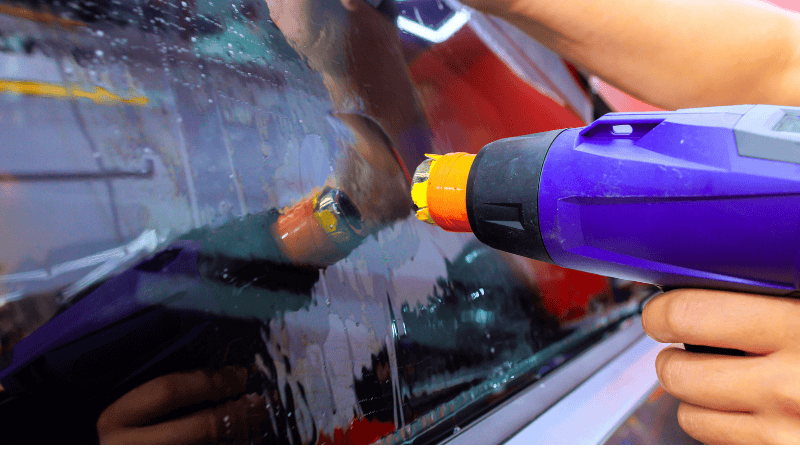
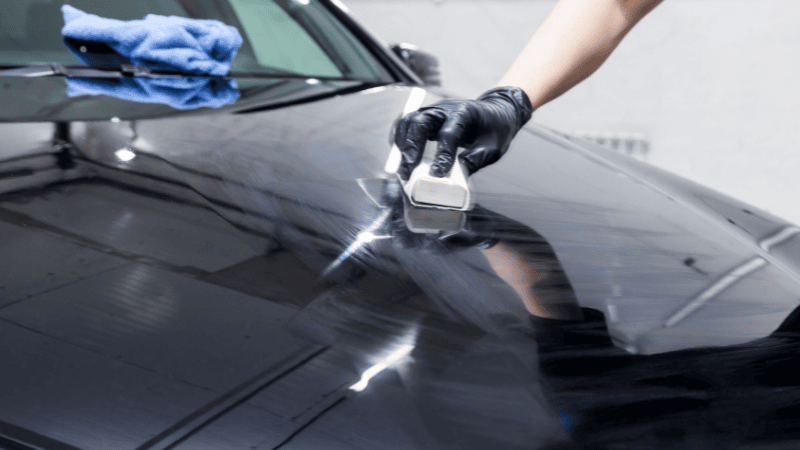
3. Heat the Vinyl

As we have mentioned, vinyl wraps adhere firmly to your car’s surface. This is where the heat comes into play. It loosens the bond without damaging your car’s paint job.
Here is how you do it:
- Set your heat gun to a medium heat level. Too much heat may damage your car’s paint. Therefore, it’s recommended that you find the sweet spot.
- Hold the heat source about 6-8 inches away from the vinyl surface. As you apply heat, you’ll notice the vinyl starting to soften. This is exactly what you want.
- Now, work your way systematically across the vinyl surface. Heat small sections at a time. When doing this, make sure you’re moving the heat source consistently. And whatever you do, don’t concentrate too much heat in one spot.
But wait, why bother with all these heating businesses? Can’t you peel off the wrap without heating?
Well, Heating the vinyl serves two purposes:
- It softens the adhesive underneath to help you remove the vinyl without leaving any sticky residue behind.
- It prevents the vinyl from breaking into small pieces. This saves you time and frustration.
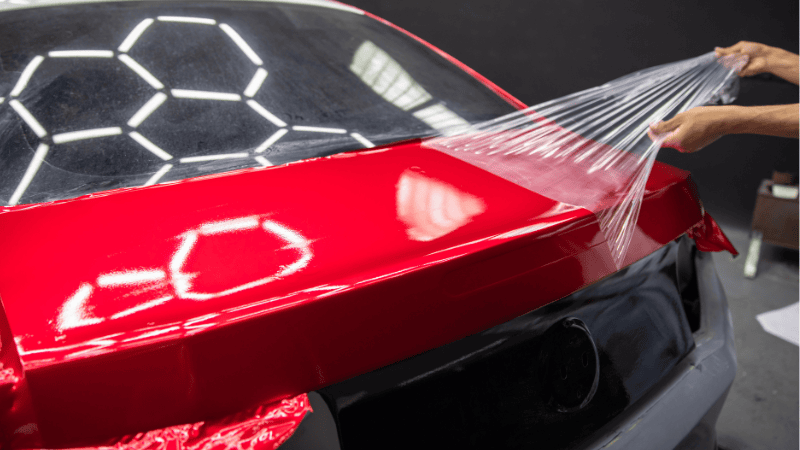
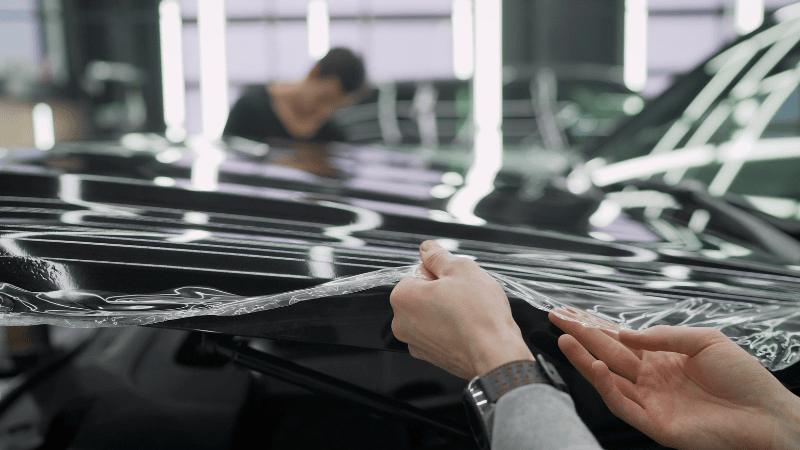
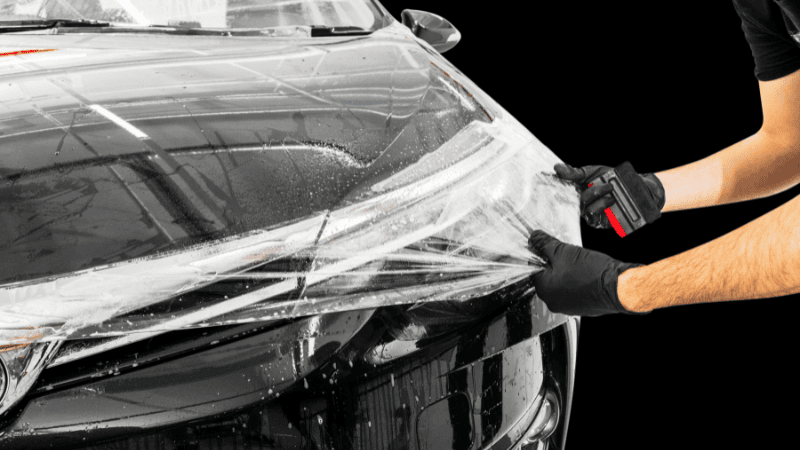
4. Peel the Car Wrap
Now, you are actually removing the wrap from your car. So, pay attention as this is the key step in removing the vinyl wrap. If done correctly, it will ensure the safety of your vehicle’s paint job.
- Locate a corner of the wrap that is slightly loose. This area will serve as your starting point for the peeling process.
- Grasp the edge of the vinyl and begin to pull. Do this at a 45-degree angle while you are exerting steady and even pressure. But don’t pull too forcefully. This may cause the vinyl to tear.
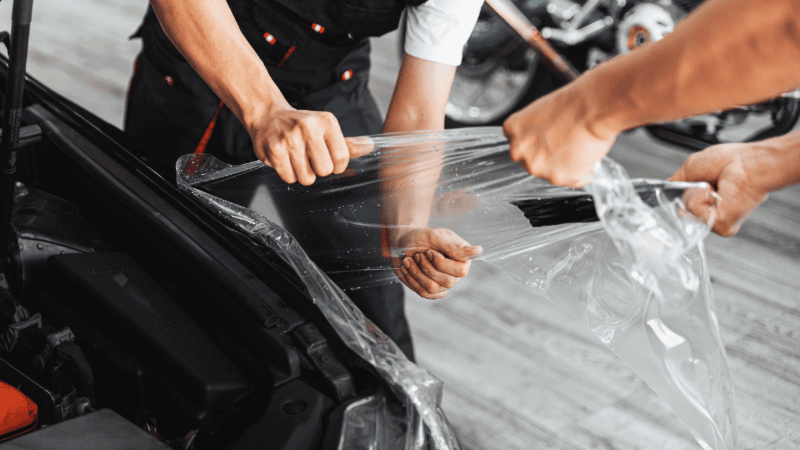
- Take your time and work carefully around areas with obstacles, such as door handles, mirrors, or trim pieces. And if you encounter stubborn spots where the vinyl is resistant to peeling, use additional heat.
5. Remove the Leftover Materials
It’s virtually impossible to remove all the car wrap in one go. You have to come up with a plan to remove the adhesive residue. Lucky for you, here is a guide to help you:
But first, you’ll need a few items. Think of a bottle of adhesive remover, microfiber cloth, or a plastic rubber. These are the tools you’ll use to remove the residue.
- Apply the adhesive remover: You can also use rubbing alcohol for similar results. Pour a small amount of your preferred solution on a clean cloth. Then, gently rub the cloth over the leftover adhesive on your vehicle’s surface. Do this to break down the adhesive for easier removal.
- Give it time: Let the adhesive remover soak into the residue. This should only last a few minutes, and it is important because it gives the solution time to loosen the adhesive’s grip on the car’s surface.
- Scrape off the residue: Here, use a plastic scraper to carefully scrape away the loosened adhesive residue. If necessary, apply more adhesive remover and continue scraping until you’ve removed all the residue.
6. Clean Your Vehicle
Now, it’s time to thoroughly clean your vehicle. It’s the step where you prepare your car for the next transformation. Here is how you remove any leftover adhesive, dirt, or grime:
Gather Your Cleaning Supplies
You’ll need a new set of items for this. Most people use automotive soap or detergent, a microfiber cloth or sponge, and clean water. You can do the same.
But there is a but. Don’t use hazardous chemicals or abrasive tools. This may damage your car’s paintwork.
Rinse the Surface of Your Car
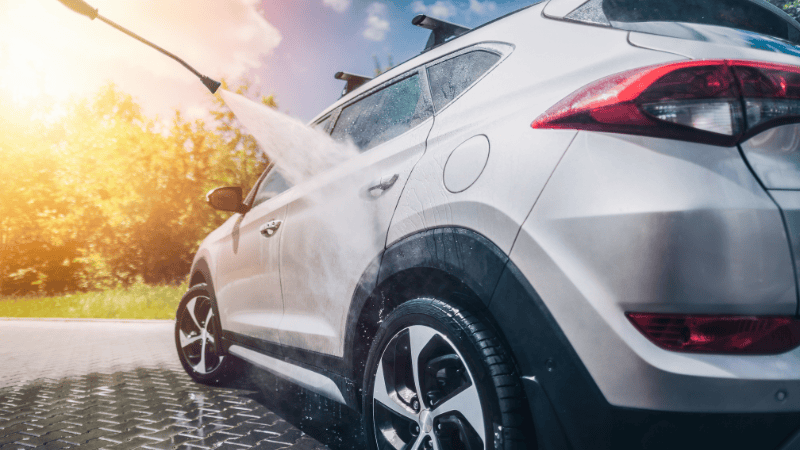
Use clean water to remove any loose debris. Then, use your detergent to wash the entire surface of the car. While doing this, pay attention to all the areas where adhesive residue may still be present. For a thorough clean, ensure you cover every inch of the vehicle.
Continue to Wash Your Car
As you wash, take care to avoid scrubbing too vigorously, especially if your car’s paintwork is sensitive. The goal is to remove any remaining adhesive residue without causing any damage to the underlying paint.
Once you’ve washed the entire vehicle, rinse it thoroughly with clean water to remove any soap residue. Then, using a clean microfiber cloth or sponge, dry the surface of the car to prevent water spots from forming.
After your vehicle is clean and dry, take a step back and admire the results of your hard work. Your car now looks fresh. It’s also free from any traces of the old vinyl wrap. Here is a clean canvas for your next vinyl wrapping project.
What Not to Do When Removing a Vinyl Car Wrap
The following are what you shouldn’t do to ensure the process of vinyl car wrap removal goes smoothly:
Don’t Neglect Surface Preparations
This is one very important step. So, before you start the removal process, thoroughly wash the car to remove any dirt, grime, or wax buildup.
For this, You can also use a mild solvent to clean the surface and ensure better adhesion for the new wrap.
Don’t Use Sharp Objects
Instead of sharp tools, go for plastic or rubber wrap removal tools. These are more forgiving if they accidentally come into contact with the car’s surface.
Don’t Apply Excessive Heat
While heat is essential for softening the adhesive, you should use it judiciously. A heat gun on a low setting or a blowtorch are two of the most effective tools for this.
But, You must keep the heat source moving to avoid concentrating heat in one area for too long.
Don’t Pull the Car Wrap Too Hard
Even if it feels like you should use more force, don’t apply steady and gentle pressure when peeling off the vinyl wrap. If you encounter resistance, we advise you to apply more heat. Then, try again rather than risking tearing the vinyl.
Don’t Rush the Process
This is a slow process. So, take your time when removing the vinyl wrap, especially if it’s your first time. Trying to rush will lead to costly mistakes. Damaging your car is one of the things. We recommend planning for enough time to properly complete the removal.

Don’t Peel Against the Grain
When peeling off the vinyl, follow the natural contours and edges of the vehicle’s panels. Peeling against the grain increases the risk of tearing the vinyl.
Work from one edge to the other. Move in the direction that allows the vinyl to lift smoothly without resistance. This technique promotes a clean, uniform removal process.
Don’t Forget to Test for Adhesive Residue
Inspect the surface carefully for any remaining adhesive residue after you’ve removed the vinyl wrap. Failure to do so can result in a messy appearance and may complicate the application of a new wrap or paint correction.
Use a residue remover specifically designed for automotive applications and follow the manufacturer’s instructions for safe and effective removal. Taking the time to address any residue ensures a clean and smooth surface for the next steps in the vehicle customization process.

Don’t Ignore Manufacturer Recommendations
Different vinyl wraps have specific removal instructions provided by the manufacturer. These instructions may include recommended tools, techniques, or products tailored to the particular characteristics of the wrap.
If you ignore these recommendations, it’s like you are preparing yourself for failure. Therefore, always consult the manufacturer’s guidelines and grasp the removal tips before starting. Then, follow them closely for the best results.
Don’t Work in Cold Temperature
Cold temperatures impact the effectiveness of the vinyl removal process. And vinyl becomes more rigid and less pliable in colder conditions. This makes it harder to peel off the wrap without tearing.
Also, adhesives may not react as expected in cold weather. It also contributes to increased difficulty in removing the vinyl cleanly.
If removal is necessary in colder weather, consider using a heat source to gently warm the surface before starting. A temperature of 60 degrees Fahrenheit (15 degrees Celsius) helps maintain the flexibility of the vinyl to ensure a smoother removal process.
FAQs
Q1. Can You Remove Car Wrap Without Damaging Paint?
Yes, you absolutely can. Modern vinyl wraps are designed to be easily removed without causing damage to your car’s paint.
But this is not a guarantee. So, you need the right techniques and tools to safely peel off the wrap. All in all, this means you can change up your car’s look whenever you want without worrying about costly paint repairs.
Q2. Is a Car Wrap Easy to Remove?
Yes. You’d be surprised at how straightforward this process is. Think of it as simply peeling off a sticker. You don’t need to be a professional to do it. But you need the right tools and a little patience. That’s the recipe to easily remove the vinyl wrap from your car.
Q3. How Do You Know When to Remove a Car Wrap?
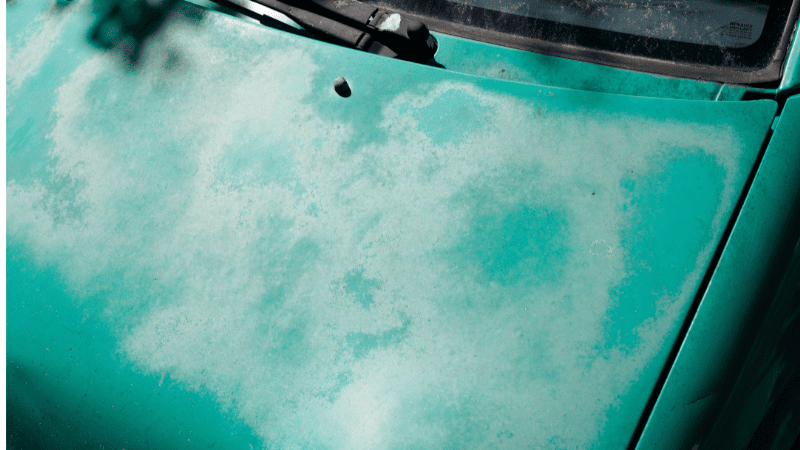
It’s simple. When the wrap starts looking worn-out or faded or develops any damage like peeling edges or bubbles, it’s time to say farewell.
This is your brand’s ambassador on wheels. So, when it loses its luster, it reflects poorly on your business. Stay sharp, and when you notice any signs of wear and tear, schedule that removal.
Q4. What Should You Avoid When Removing Vinyl Wraps?
Here are the missteps to avoid when removing vinyl wraps from your car to ensure a smooth process.
- Never rush the removal: Pulling too quickly can damage your vehicle’s paint.
- Don’t use excessive heat. While heat aids in loosening the vinyl, too much can cause the adhesive to become overly sticky, making removal harder.
- Refrain from using sharp tools like razor blades, as they can scratch the paint.
- Avoid working in extreme weather conditions, such as intense heat or cold, as they can affect the vinyl’s adhesive properties.
If you stick to these guidelines, you’ll achieve a hassle-free removal experience.
Q5. Can You Remove the Car Wrap Yourself?
Yes. But you must have the right tools and a bit of patience to tackle this project head-on. It’s surprisingly straightforward, especially with the abundance of online tutorials and our step-by-step guide.
Conclusion
This guide covers everything important when removing a car wrap. It first introduces 5 essential tools, and then it explains the 6 steps to remove the vinyl wrap. In each step, the post also gives sufficient illustrations to help you understand better. Last, it emphasizes 9 common mistakes to avoid. Whether you’re changing styles or returning to factory paint, these tips will help maintain your vehicle’s value and appearance after removing the car wrap.
Tired of Fading Wraps? Upgrade to CARLIKE® Vinyls Today!
Tired of mediocre wraps that peel or fade? CARLIKE‘s premium vinyls offer bubble-free application, vibrant colors, and long-lasting durability – all while protecting your original paint. Whether you want a sleek matte finish or eye-catching gloss, our easy-to-install films make customization effortless.
Get Your Free Professional Wrap Quote Today! Your dream wrap is just a quote away!