Looking for a clean way to remove decals without peeling the paint and leaving sticky residue? The right tools and techniques helps you avoid scratches, adhesive residue, and surface damage. Follow this step-by-step guide to remove decals from cars, walls, and floors without leaving a trace behind!
Preparation for Decal Removal
Proper preparation will make the process faster and protect the paint underneath. Here’s how to get started:
Gather Your Tools
Tools help remove vinyl decals smoothly without damaging the surface. Some essential tools you will need:
- A heat gun or a dryer to soften the adhesive.
- A plastic scraper or a credit card will help you lift the vinyl decal.
- An adhesive remover (like Goo Gone) will loosen the leftover glue from the surface.
- A microfiber cloth and some soapy water to clean the surface thoroughly.
Clean the Surface
Before starting the process, clean decal surfaces. It will remove any grit or debris. It helps you avoid scuff marks during removal. If you find tar or bug residue, use a clay bar to clean.
Work in a Controlled Environment
Work in shade or indoors to avoid direct sunlight and heat. Direct sun can over soften the adhesive. It can make it harder to control the peel.
Do a Spot Test
Always test the adhesive remover on a hidden spot first. Most adhesives are paint-safe. But some surfaces, like older or repainted react poorly to adhesives.
Expert Decal Removal Methods for Different Surface Types
Every surface needs different tools and techniques. Not every method works on all surfaces. A technique used on car holographic vinyl decals cannot work on the window or retail floor wall decals. Another fact is that adhesive cleaners respond differently on different surfaces.
So here are the expert step-by-step methods to remove decals from the car, wall, and floor. These methods help you get the work done efficiently and without damaging any surface or paint.

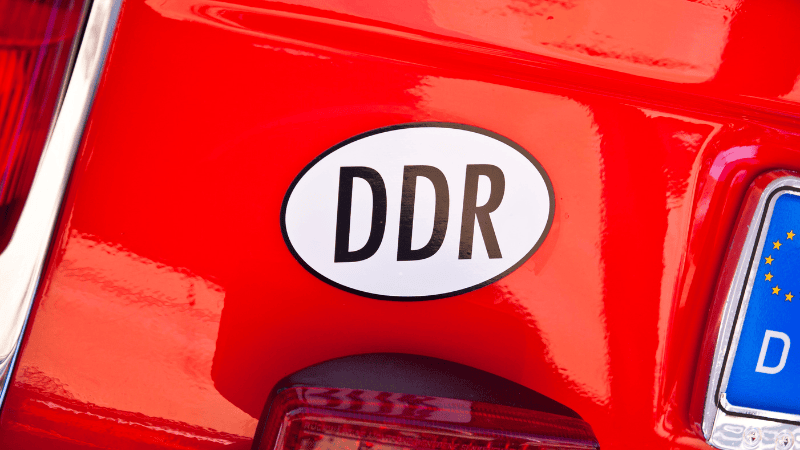
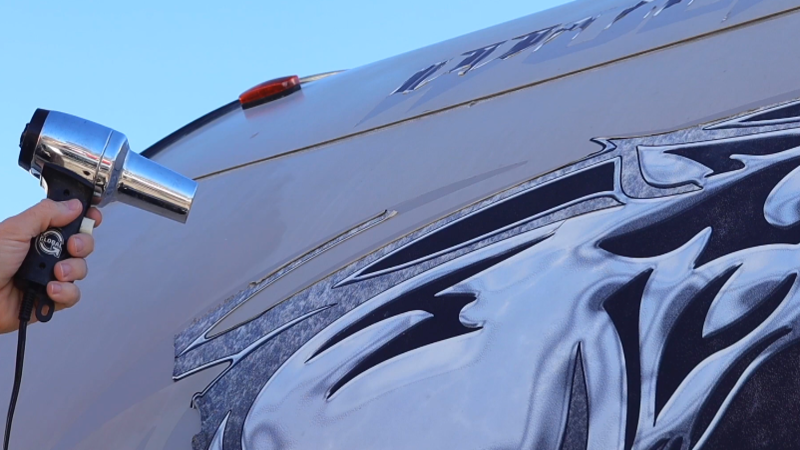
How to Remove Car Decals (Without Damaging Paint)
High-quality automotive vinyl films use pressure-sensitive adhesives designed for clean peel technology, which can last up to 7 years and remove residue-free when heated to 120–140°F (49–60°C).
Lower-grade PVC films, by contrast, often harden after 3 years, requiring solvents for complete removal.
Whether you are working on a body decal or a window tint, using the right tools and method is key to a clean removal. And the steps of removing car decals are similar to the steps of removing car vinyl wraps.
Materials Needed:
- Hairdryer or heat gun
- Adhesive remover (citrus-based or automotive-safe)
- Plastic scraper/card
- Microfiber towel
- Car wax or polish (optional, for post-removal finish)
Step-by-Step Guide:
Warm the Decal: Use a hairdryer 4–6 inches from the surface. Heat in a circular motion for about 30 seconds. The heat will loosen the adhesive.
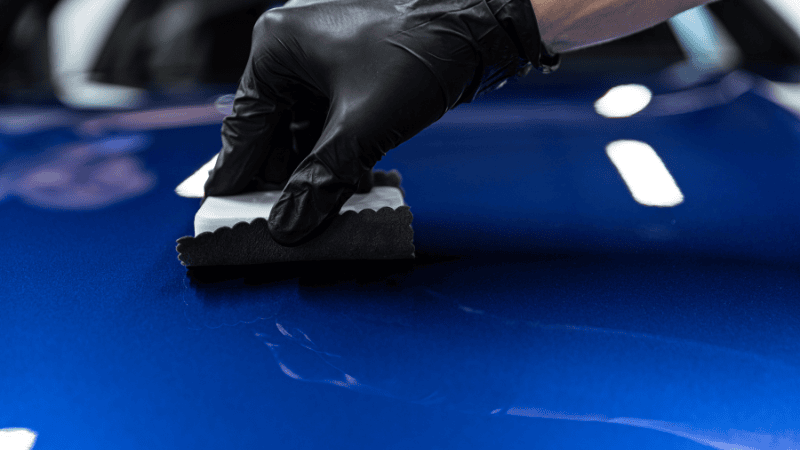
Peel Slowly: Use a plastic scraper or your fingernail to lift one corner. Pull the decal back at a 45° angle. Keep heating as you peel for the best results.
Remove Leftover Adhesive: Spray adhesive cleaner on the surface and let it sit for 2–3 minutes. Gently rub with a microfiber cloth until clean.
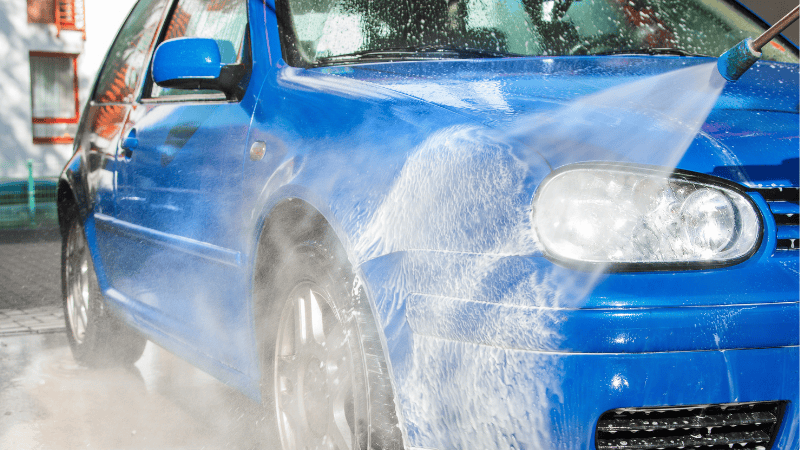
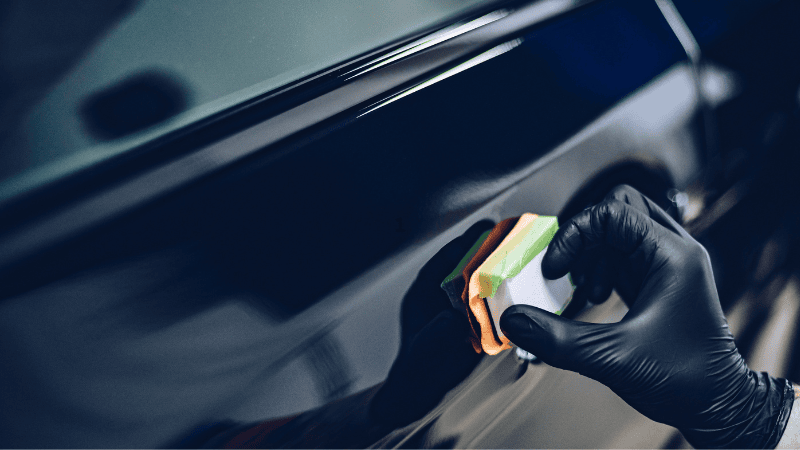
Clean & Polish: Wash the area with car soap and water. If the surface is dull, apply a layer of wax or polish. It will restore shine and protection.
Note:
Do not use metal tools. They can scratch or gouge the paint. And never overheat one area for too long. This can blister clear coat finishes.
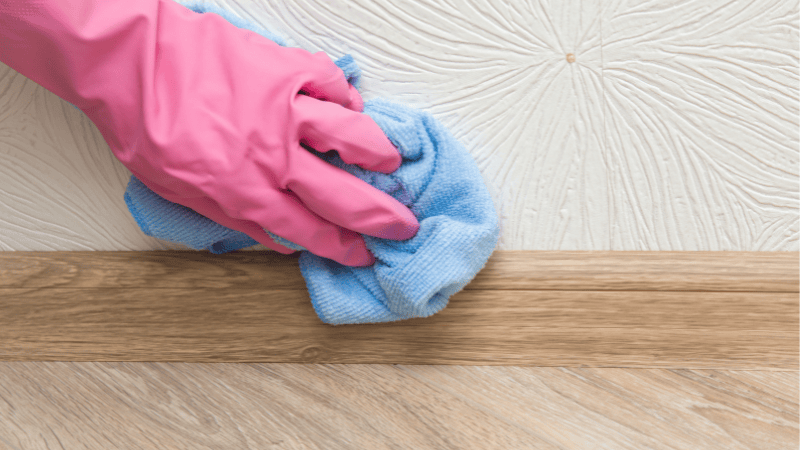
How to Remove Wall Decals (Without Damaging Paint)
Wall decals, like decorative vinyl stickers or motivational quotes, are applied to dry walls. They are semi-permanent. Improperly removing or using the wrong tools can damage drywall or pull off paint. Especially on matte or older paint, the wrong heat or chemical can ruin your wall’s appearance.
Professional decorators recommend removing wall decals within 3–4 years of installation for best results. After this period, adhesives begin to crystallize, especially in rooms with high humidity or sunlight exposure, increasing the risk of paint lifting during removal.

Here’s how to do it right:
Materials Needed:
- Hairdryer
- Adhesive remover (safe for painted drywall)
- Soft cloth
- Mild soap and water
Step-by-Step Guide:
Loosen the Glue with Heat: Gently warm the decal with a hair dryer. Keep the dryer on low to medium heat for painted walls. Avoid overheating, as it can soften the wall paint.
Start at a Corner: Lift the decal corner using your fingernail or a plastic card. Peel slowly at a low, even angle.
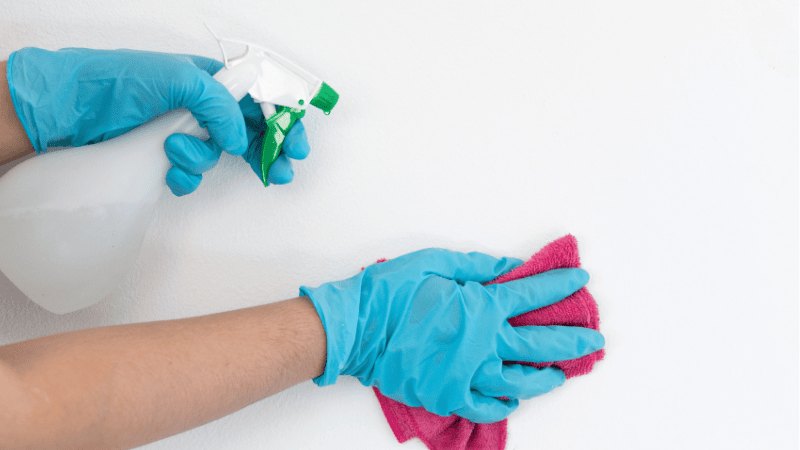
Clean the Wall: Apply a small amount of solvent on the leftover residue. Use a soft cloth to clean. Rinse with soapy water and pat dry.
Patch if Needed: If small patches of paint come off, touch them up with a wall paint pen or a small brush.
Note:
Matte-painted walls are sensitive to heat and chemicals. Always test the residue remover and heat level on a small, hidden area before treating the full decal.
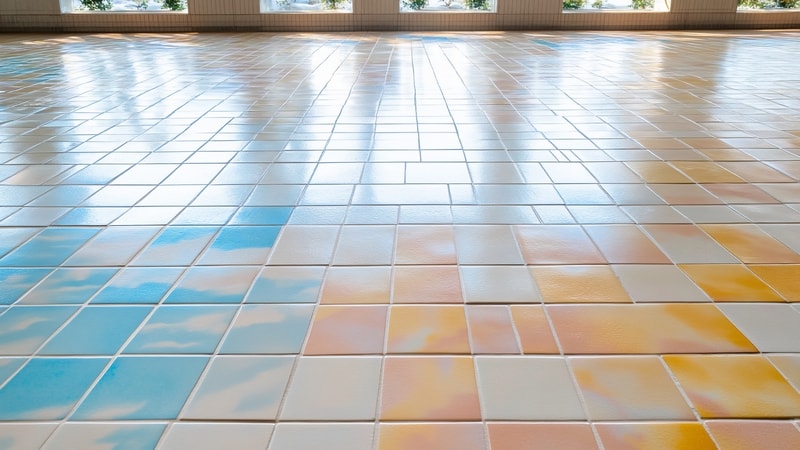
How to Remove Floor Decals Without Damaging the Floor
Retail and warehouse floors using laminated safety decals report a 40% longer service life than unlaminated ones. When removing, heating the surface to 100°F (38°C) helps break the adhesive bond without leaving cloudy stains common on vinyl composite tile (VCT) surfaces.
Follow these proven steps for a smooth, damage-free removal.
Materials Needed
- Plastic scraper
- heat gun
- floor cleaner
- solvent
Step-by-Step Guide
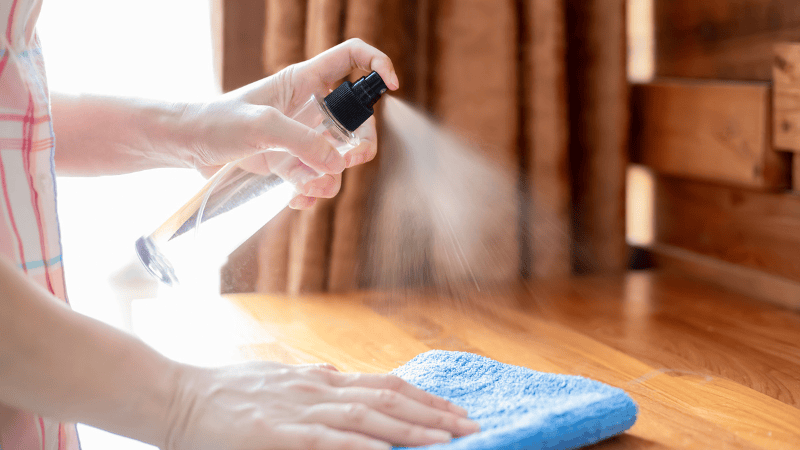
Clean the Floor Surface: Before you begin, mop the area around the decal to remove dirt, dust, and grime. It will give a better grip and reduce the risk of slipping during removal.
Soften With Heat: Apply moderate heat across the decal surface with a heat gun. This helps loosen the adhesive underneath. Be cautious not to overheat if you are working with cutting vinyl, laminate, or wood flooring. Excessive heat can cause warping or discoloration.
Lift Gently: Gently push up one edge of the decal with a plastic scraper. Slowly peel back the decal with the edge. If the decal is large, cut the strips to reduce tension and prevent tearing.
Remove Adhesive Residue: Apply an adhesive remover or floor-safe cleaner to any leftover glue. Wait for a few minutes to soften the residue. Then wipe clean with a damp cloth. Use a non-abrasive scrubber for tougher spots. Avoid metal tools that can scratch the floor.
Note:
If you’re working on commercial tile or sealed concrete floors, industrial-grade adhesive removers can be used. Always check that the product is compatible with your specific flooring type to avoid damage or staining.
Tips for Effective Decal Removal
Proper heat, adhesive removal, and careful peeling are essential to remove decals efficiently.

For a smoother process, follow these battle-tested tips:
- Don’t Rush It: Decal removal process need time and patience. So do not rush it out. Quick peeling can tear the vinyl or damage the paint or surface.
- Score Large Decals: If a decal is too big to pull up in one go, score it into strips with a liner-cutting tool. This reduces tension and helps you lift smaller sections without stretching or tearing.
- Try nail polish remover (on glass only): You can use acetone to break down adhesive on glass. Never use it on painted surfaces. It can strip finishes instantly.
- Clean Up Residue Carefully: Clean the adhesive residue completely. If the glue sits longer, it is harder to remove.
- Use Goo Gone or Rubbing Alcohol: Rubbing alcohol and Goo Gone dissolve adhesive well. But test every chemical compatibility.
Removing Stubborn Glue Residue Left
Decals, vinyl wraps most likely leave some adhesive residue. No worries, you can get rid of these stubborn glue residues with simple things:
- Citrus-based adhesive remover can clear cars and walls.
- You can use white vinegar or rubbing alcohol on minor residue. Use a soft cloth and let it soak for 5–10 minutes.
- Baking soda can remove the stubborn residue from walls and floors. Mix baking soda with water and gently rub it in.
- A clay bar can be used for grime and glue residue on cars without damaging the paint.
Post-Removal Care and Maintenance
After removing decals and residue, it is essential to care for the surface. It will help avoid after-process damage and fading:
- Re-wax your car’s surface to restore shine and guard against UV.
- If the paint is removed during the process, touch up the wall paint.
- On floors use a neutral floor cleaner to maintain gloss and avoid residue.
- Avoid applying new decals right away; let the surface rest for 24 hours.
- Store tools properly so they’re clean and ready for the next use.
FAQs
Q1: Which brand’s decoration vinyl is easy to remove without damaging the surface?
CarlikeFilm design decals for easy removal. Advanced adhesive technology lets them bond firmly and peel clean without residue, ideal for temporary and long-term applications.
Q2: Can I remove car decals without damaging the paint?
Yes. You will need some tools like a heat gun, a plastic scraper, and solvent with the right technique to remove decals without harming your vehicle’s finish.
Q3: How do I prevent residue from coming back after decal removal?
Remove all glue with an adhesive remover completely. Then clean the area thoroughly. Seal it with wax or polish to prevent future residue buildup.
Q4: What types of decoration vinyl do you offer?
We offer a wide variety of decoration vinyl, including matte, glossy, metallic, and patterned options to suit any project. Send us an inquiry if you have any questions.
Conclusion
Using the right tools and techniques, you can remove decals on any surface easily. Low-quality vinyl often stretches or leaves sticky residue behind. It makes the job messy. High-quality decals are easy to apply and remove without peeling the paint or leaving adhesive residue.
CarlikeFilm® design professional-grade vinyl that applies easily and peels clean every time.
Ready for a Hassle-Free Decal Upgrade? Request a Free Quote Now!
At CarlikeFilm®, we make vinyl wraps and decoration vinyl that stick when you need them and peel clean when you don’t. Perfect for DIYers, pros, and anyone in between. Our vinyls are tough, stylish, and simple to apply or remove.
Ready to transform your ride or business display? Request a free quote today to explore the full range of products!